Warning
This content has been generated by machine translation. The translations are automated and have not undergone human review or validation.
13.3 Autoscaling Test
Scale Out occurrence test
-
Go to the Instance Pool and connect to the current Compute instance with SSH.
-
Install the stress tool
sudo yum-config-manager --enable ol7_developer_EPEL sudo yum install -y stress -
Perform stress
sudo stress --cpu N -
Execution example
Continue to apply the load by adjusting the number of CPUs of the Compute Instance to be used. Considering the Cool Down value determined when auto-scale is set, apply a load longer than that time.
[opc@autoscalingwebserver ~]$ sudo stress --cpu 4
stress: info: [21438] dispatching hogs: 4 cpu, 0 io, 0 vm, 0 hdd
Monitoring during load occurrence
-
Open the navigation menu in the OCI console. Go to Compute > Instance Pools.
-
Move to the detail screen of the instance pool to be autoscaling.
-
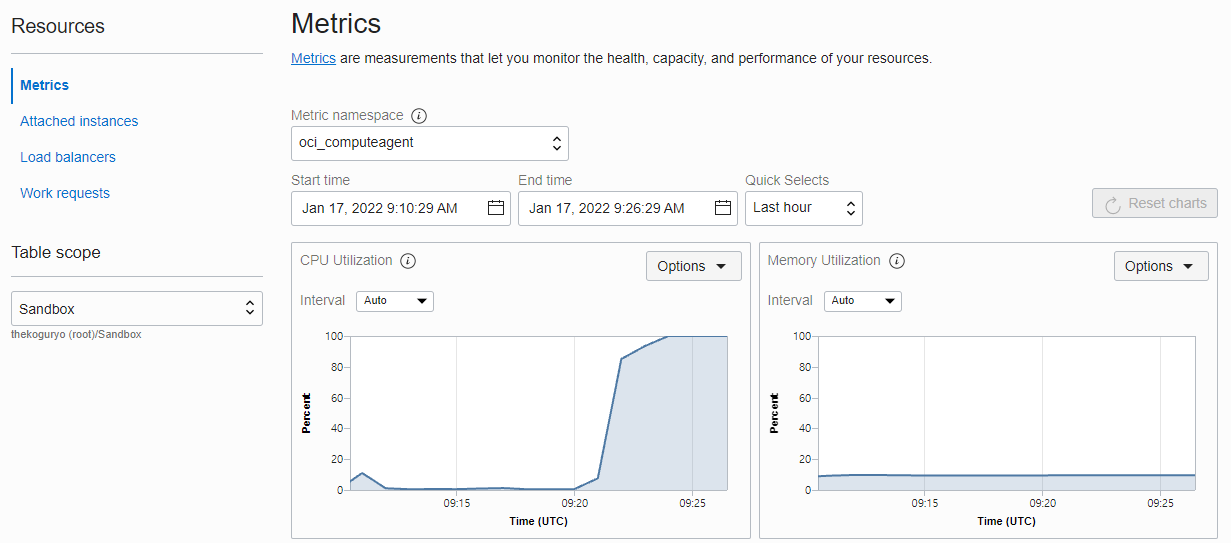
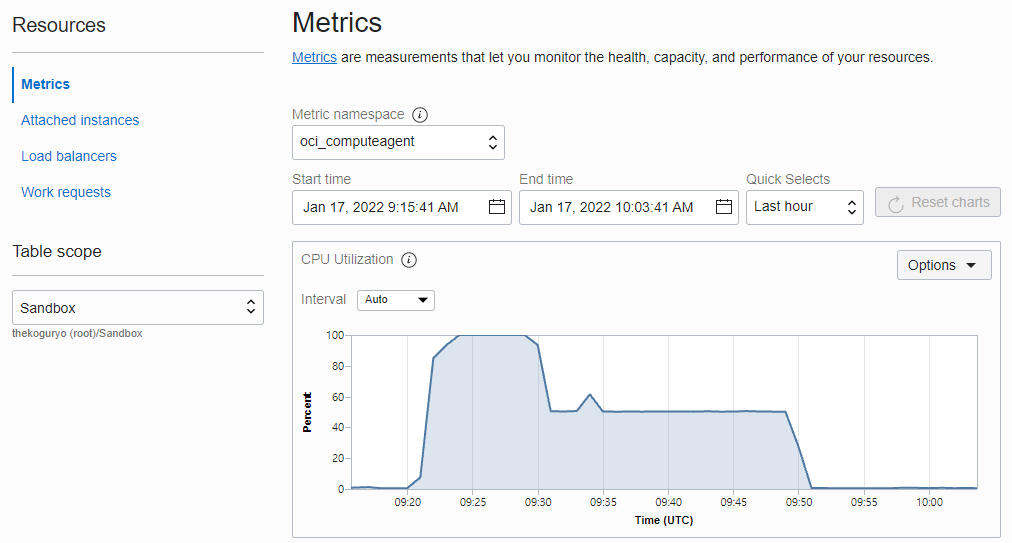
Support monitoring of instance pools in Resources > Metrics.
-
For Metric namespace, if you select oci_computeagent, you can view metric information about VMs in the instance pool. CPU load is being monitored as shown below.
Check Scale Out
-
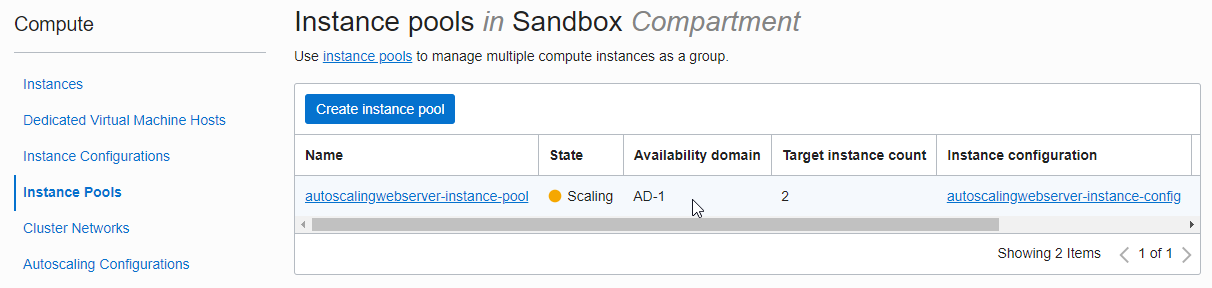
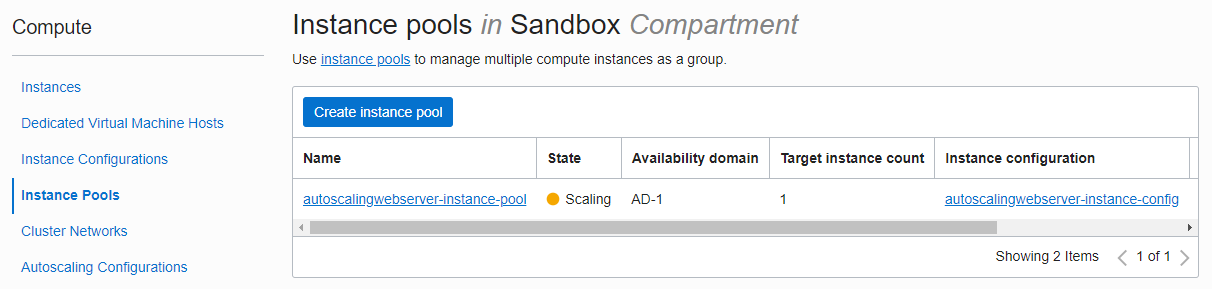
Autoscaling occurs as shown in the figure as the load continues to occur beyond the specified Cooldown.
-
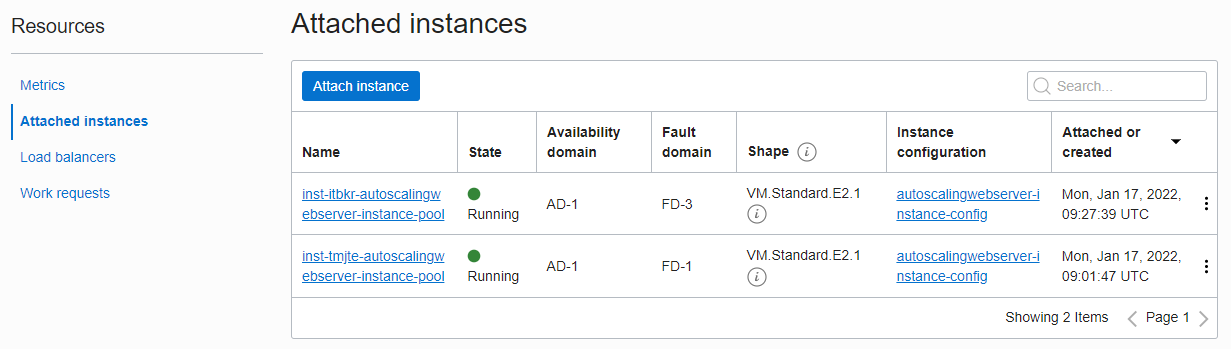
In Instance Pool details, you can see the result of server addition completed.
-
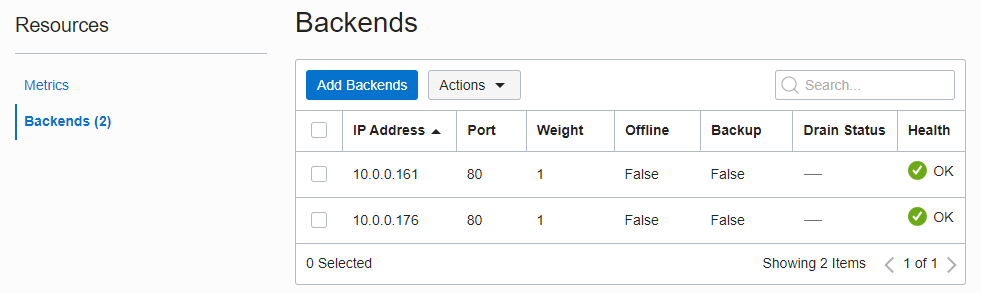
You can see that a new server is added in the Load Balancer’s Backend Set.
-
You can see that the average CPU load of the Instance Pool is cut in half due to the addition of servers.

-
Connect to LB’s Public IP through a browser.
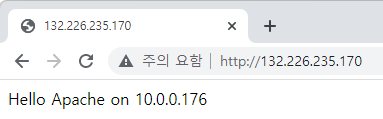
-
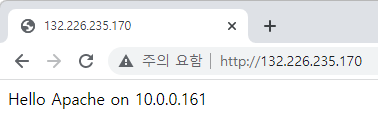
Refresh your browser.
Check Scale In
-
Stop the load given by the SSH connection terminal of the server No. 1.
[opc@autoscalingwebserver-264316 ~]$ sudo stress --cpu 4 stress: info: [7772] dispatching hogs: 4 cpu, 0 io, 0 vm, 0 hdd ^C [opc@autoscalingwebserver-264316 ~]$ -
Check the decrease in the average CPU load of the Instance Pool in Monitoring
-
As the load is reduced, autoscaling occurs as shown in the figure.
-
Scale In becomes Scale In in the order of terminating the instances except first from the Load Balancer.
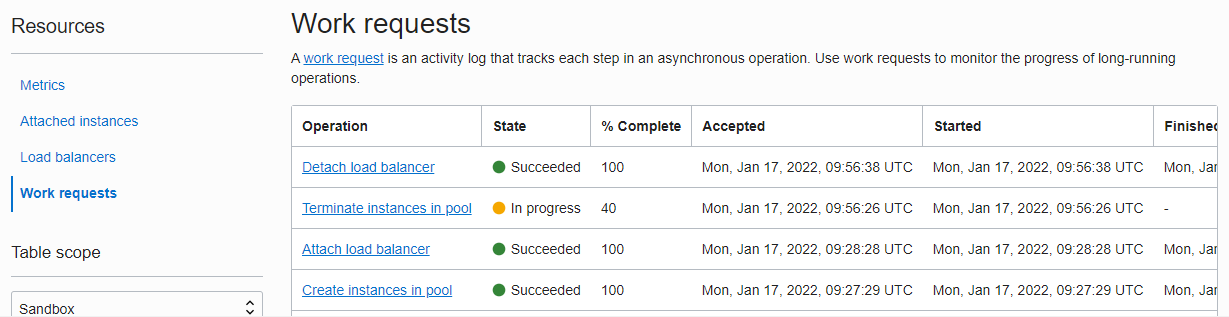
-
Complete Scale In
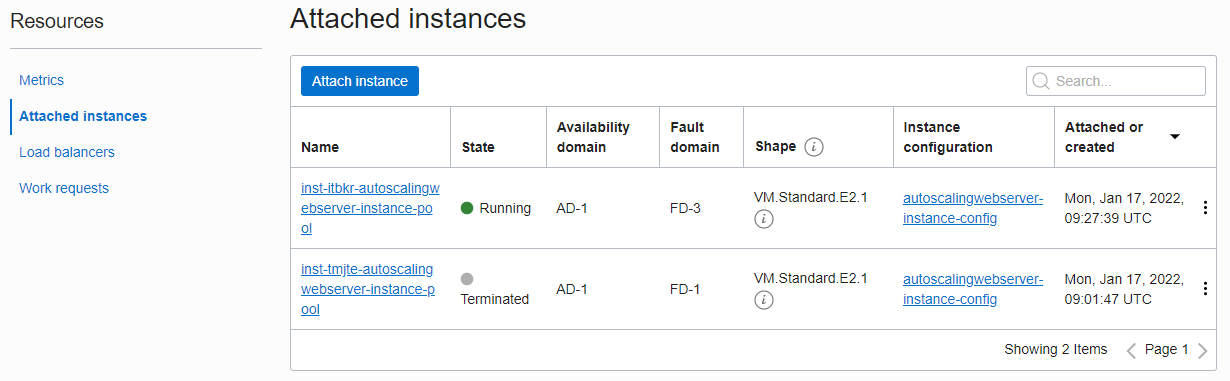
-
It was also confirmed that the Load Balancer’s Backend Set was deleted.

As an individual, this article was written with my personal time. There may be errors in the content of the article, and the opinions in the article are personal opinions.