Warning
This content has been generated by machine translation. The translations are automated and have not undergone human review or validation.
3.5.2 Connecting to PuTTY on Windows
The SSH Key generated by the PuTTY Key Generator is stored as PuTTY Private Key (PPK) .ppk via Save private key and used by PuTTY. Keys generated by ssh-keygen in the Privacy Enhanced Mail (PEM) file format are available at PuTTY via PEM -> PPK conversion.
Install PuTTY
If PuTTY is not installed, download and install a putty from http://www.putty.org/ .
Connecting a Linux Instance on Windows
-
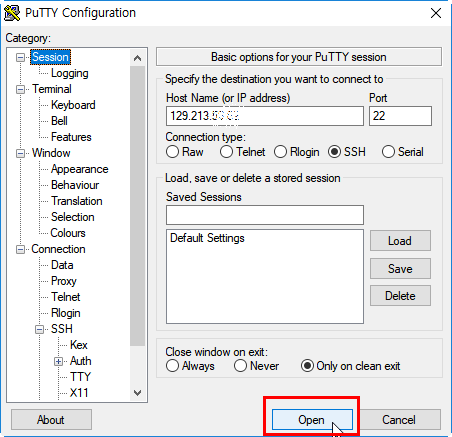
Run putty.exe
-
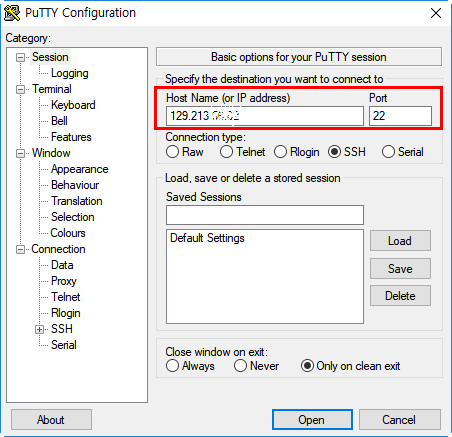
Select Session from Category and enter
- Host Name (or IP address):
Public IP of the instance. This can be found in the OCI Console.
-
Port: 22
-
Connection type: SSH
-
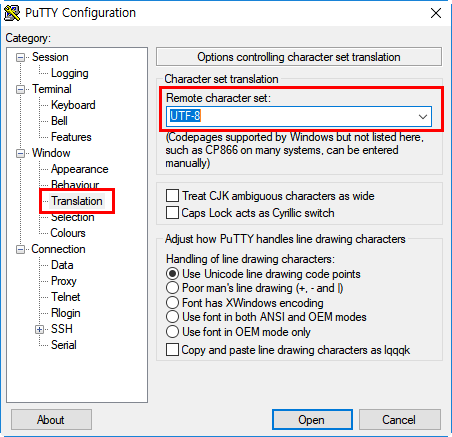
In the Category window, select Translation for the Window child
-
Select UTF-8 from the Remote character set drop-down list
Linux-based instances have a default locale of UTF-8. That’s why we set it the same in PuTTY as well.
-
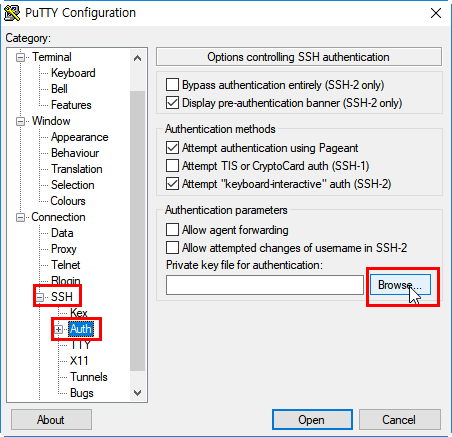
In the Category window, click SSH and Auth under Connection
-
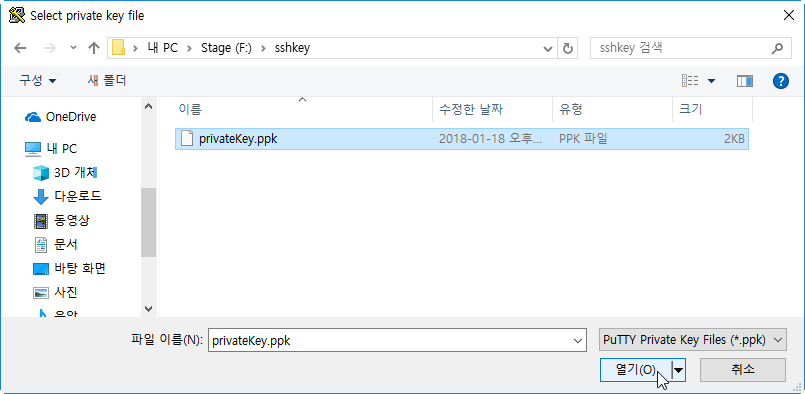
Click Browse, and select the private key to connect to the instance
-
In the Category window, navigate to Session to save the session.
-
Click Open to start the session.
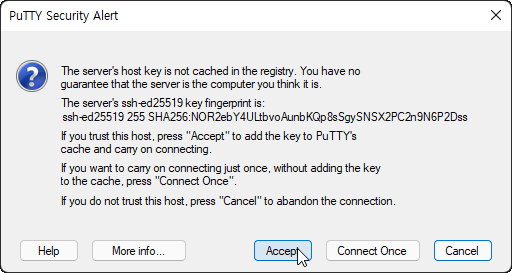
If this is the first time you are connecting to the instance you are trying to connect to, you will receive an alarm that the server’s host key is not cached in the registry. Click Accept.
-
Default User Login
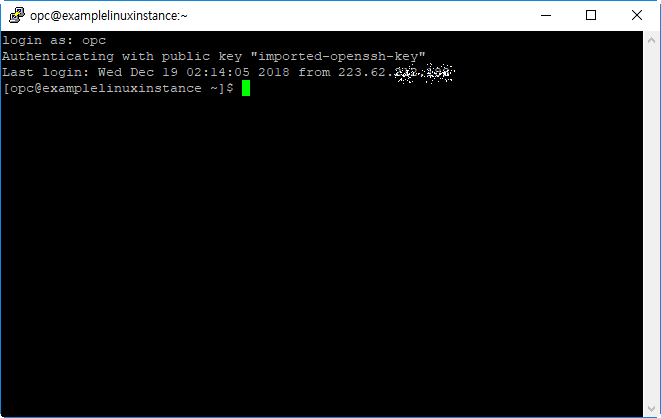
Default Connection User
| OS Image | Default User Name |
|---|---|
| Oracle Linux, CentOS | opc |
| ubuntu | ubuntu |
As an individual, this article was written with my personal time. There may be errors in the content of the article, and the opinions in the article are personal opinions.