Warning
This content has been generated by machine translation. The translations are automated and have not undergone human review or validation.
7.2 Uploading Files to Bucket
Object Storage supports up to 50 GB per single file. Based on the message of the OCI Console, you can only upload up to 2 GiB. Files larger than that can be uploaded via the SDK or API.
Upload file to Bucket from OCI Console
-
Click on the Bucket name to view details.
-
Click Upload.

-
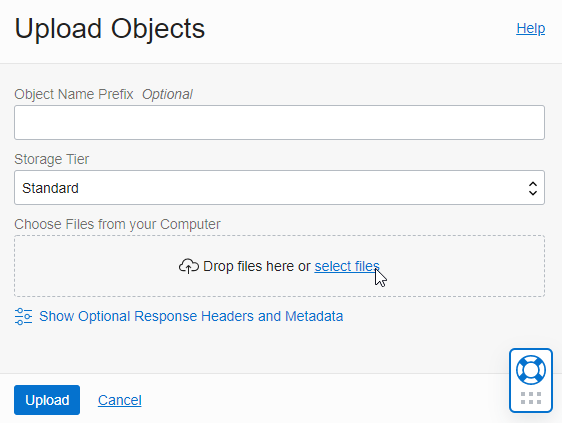
When the dialog box appears, you can drag and drop the file or upload it through the browser file upload function. Click on select files.
-
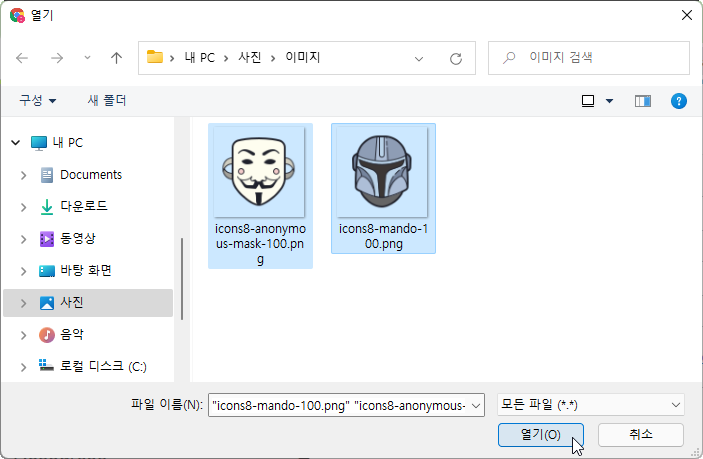
Select the desired file.
-
Click Upload on the dialog screen.
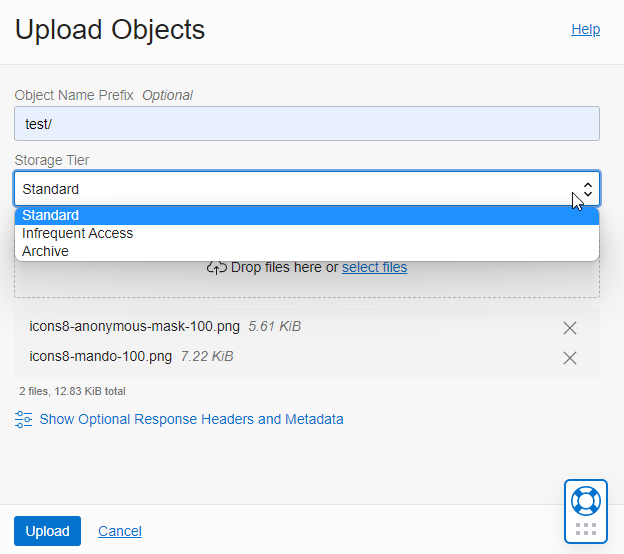
- Object Name Prefix: If you enter a prefix, it is appended to the front of the file name. If there is / as shown below, it is expressed as a folder in the console.
- Storage Tier: Bucket: Change from default to another value if necessary.
-
After confirming the upload, click Close.
-
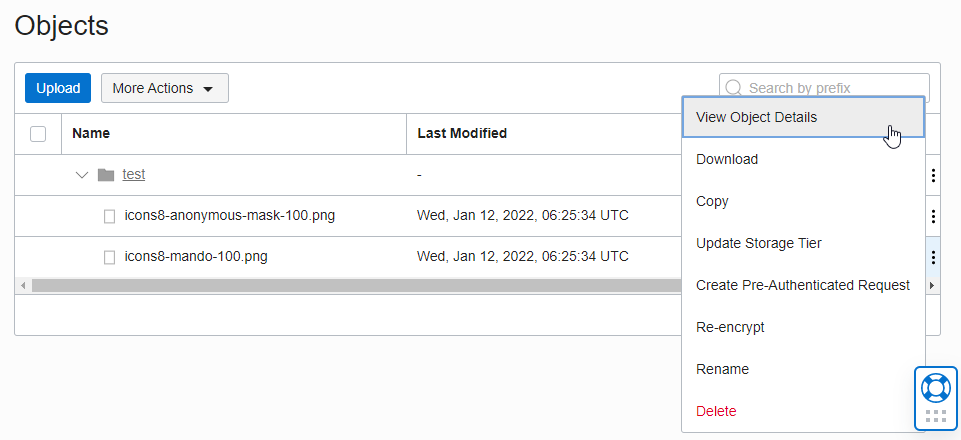
The file has been uploaded as shown in the picture, and it is foldered based on / in Prefix. Check the detailed information through the action menu on the right side of the object.
-
You can check the URL and meta information on the details screen. You can also get [Download]. The URL path format is:
https://objectstorage.<region_name>.oraclecloud.com/n/<object_storage_namespace>/b/<bucket>/o/<object_name>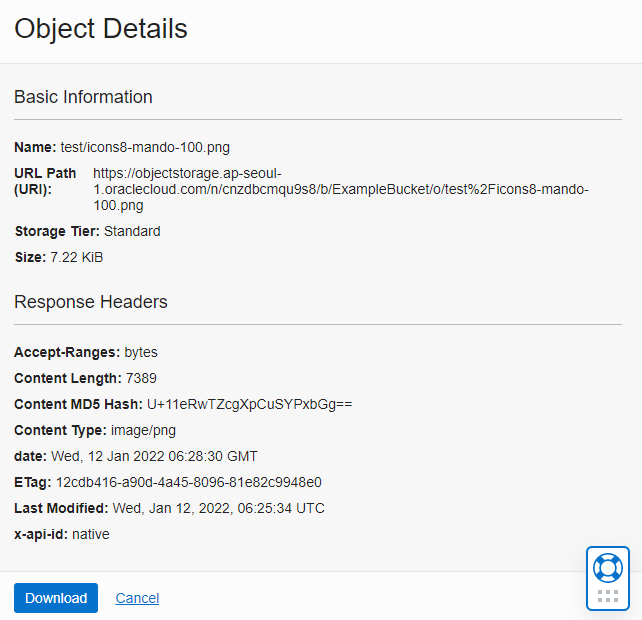
-
The created Bucket is basically a Private Bucket, and you cannot download files to the URL right now. It can be downloaded through additional settings or authentication.
As an individual, this article was written with my personal time. There may be errors in the content of the article, and the opinions in the article are personal opinions.