Warning
This content has been generated by machine translation. The translations are automated and have not undergone human review or validation.
3.6.1 Creating Block Volumes
Block Volumes are network storage for use with OCI Compute Instances. By creating a Block Volume, attaching it to your instance, and mounting it, you can use it as if you were using a physical hard drive attached to your computer. If it can be mounted on one instance at a time, it can be mounted on another instance after dismounting.
-
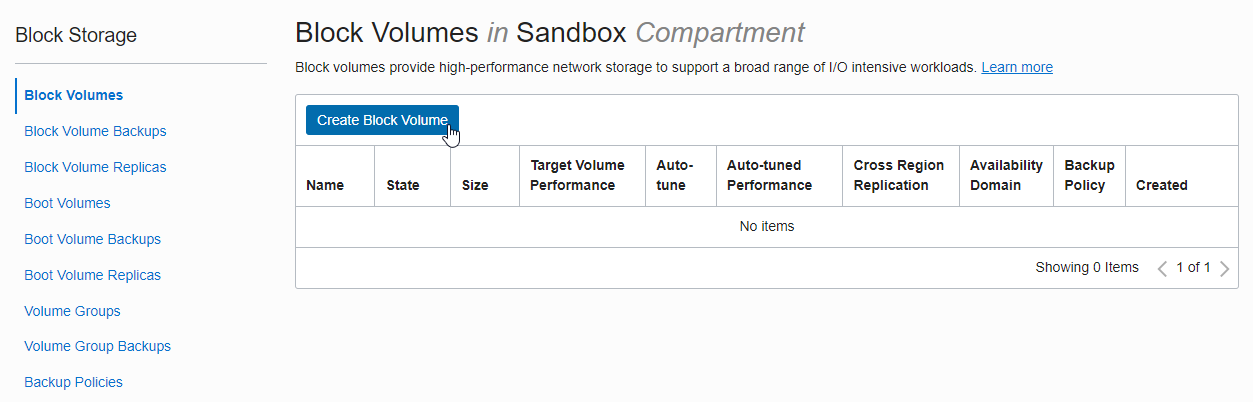
Open the navigation menu in the OCI console. Go to Storage > Block Storage > Block Volumes.
-
Click Create Block Volume.
-
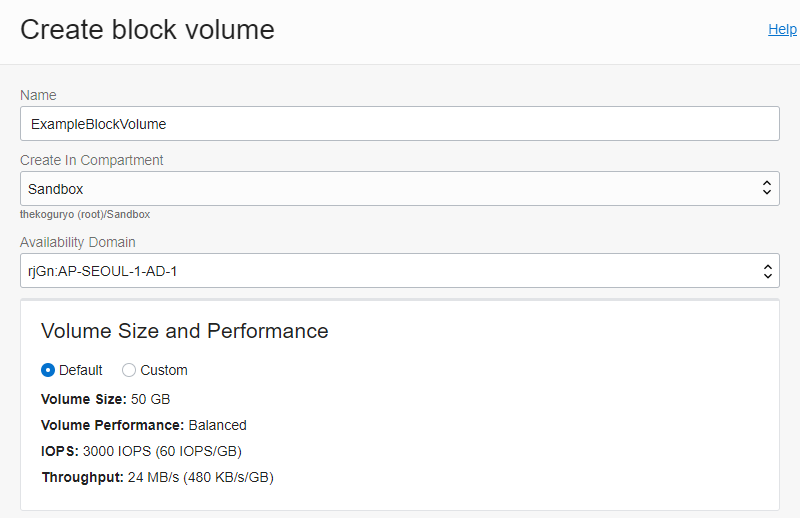
Enter creation information
-
Name: Enter the desired name
-
Create in Compartment: The currently used Compartment is displayed by default. Select the desired compartment.
-
Availability Domain: Select the Availability Domain to which the Compute Instance belongs. Volume and Instance must be in the same AD.
-
Size: size setting, minimum size 50GB
-
Backup Policies: Unchecked.
-
Cross Region Replication: Free Tier is a single Region, so it is OFF here
-
Encryption: now use OCI provided key
-
-
Click Create Block Volume
-
Complete Creation
Block Volume will show PROVISIONING status. When completed, it becomes AVAILABLE and can be mounted on the instance.

As an individual, this article was written with my personal time. There may be errors in the content of the article, and the opinions in the article are personal opinions.