Warning
This content has been generated by machine translation. The translations are automated and have not undergone human review or validation.
10.3 Creating a Backend Web Server
Create your first Linux Instance
-
Open the navigation menu in the OCI console. Go to Compute » Instances.
-
Check the Region to create an instance for and click Create Instance.
-
Enter creation information
-
Enter the necessary values for only the main items and accept the default values for the rest.
-
Basic Information
- Name: Enter a name, for example “Webserver1”
- Create in compartment: Select the compartment to be located, select the previously created Sandbox
-
Image and Shape
- The default value is VM.Standard.E2.1.Micro After checking if the resource is insufficient due to Limit, if it is insufficient, change it to VM.Standard.E2.1.
-
Networking
Select the Public Subnet of LoadBalancerVCN created earlier.
-
Add SSH Keys
After that, enter the Public Key as the SSH Key to be used when connecting to the VM for the web server installation work.
-
After entering the creation information, click Create
-
-
Complete creation

Create second instance
-
Create a second instance in the same way.
-
Enter creation information
-
It is created by changing only some values.
-
Basic Information
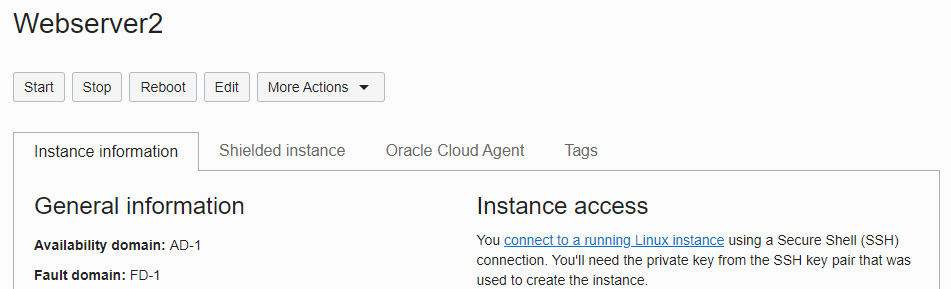
- Name: “Webserver2”
-
Placement
It is recommended to choose a different Fault Domain from the first instance for availability.

-
Image and Shape
- The default value is VM.Standard.E2.1.Micro After checking if the resource is insufficient due to Limit, if it is insufficient, change it to VM.Standard.E2.1.
-
-
Creation complete
Install the first Apache HTTP Server
5.1 Installing Apache HTTP Server on Linux Instance and the installation process are almost the same.
-
Connect to the created instance through SSH command
-
Install Apache HTTP Server
# Install Apache HTTP Server sudo yum -y install httpd # Open port 80, port for Apache HTTP in OS firewall sudo firewall-cmd --permanent --add-port=80/tcp # Re-reflect firewall changes sudo firewall-cmd --reload # Start Apache sudo systemctl start httpd sudo systemctl enable httpd -
Create server’s Root Index Document for testing
sudo su echo 'Hello Apache on WebServer #1' >/var/www/html/index.html -
Post-installation testing
[opc@webserver1 ~]$ curl http://127.0.0.1
Hello Apache on WebServer #1
Install the second Apache HTTP Server
The second installs Apache HTTP Server in the same way.
-
~ 2 are the same as the first
-
Create server’s Root Index Document for testing
sudo su echo 'Hello Apache on WebServer #2' >/var/www/html/index.html -
Post-installation testing
[opc@webserver2 opc]# curl http://127.0.0.1
Hello Apache on WebServer #2
As an individual, this article was written with my personal time. There may be errors in the content of the article, and the opinions in the article are personal opinions.