Warning
This content has been generated by machine translation. The translations are automated and have not undergone human review or validation.
3.6.2 Mounting Block Volume to Instance
-
Open the navigation menu in the OCI console. Go to Compute > Instances.
-
Click on the name of the target Instance you created earlier.
-
On the Instance detail page, click Resources > Attached block volumes in the lower left corner.
-
Click the Attached block volumes button

-
In the dialog that appears, select Next.
-
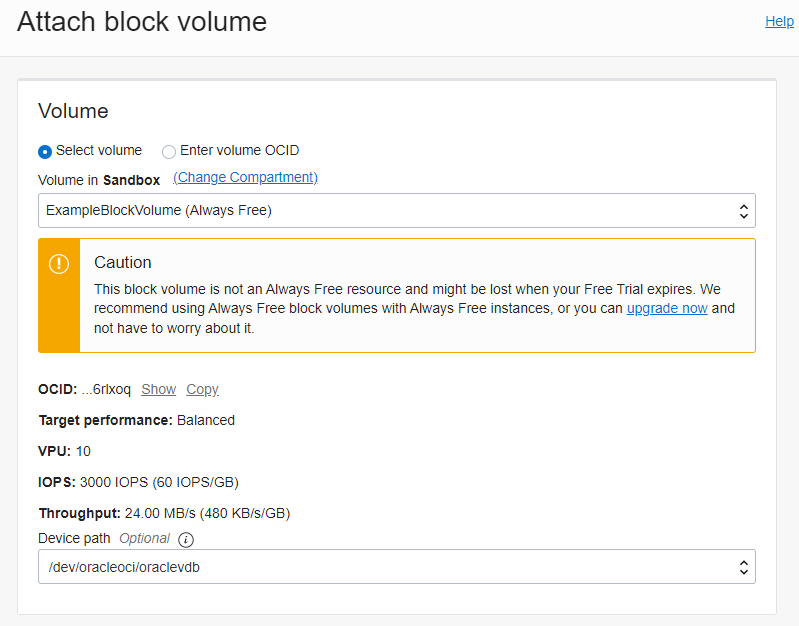
Volume: Select the desired Block Volume from the list in the compartment
- Select the ExampleBlockVolume created earlier
- Device Path (optional): Select the desired path from the list If you are using an Oracle-provided Linux-like image, you can specify the path to be mounted. This feature was added to ensure that the path does not change even when the instance is restarted.
-
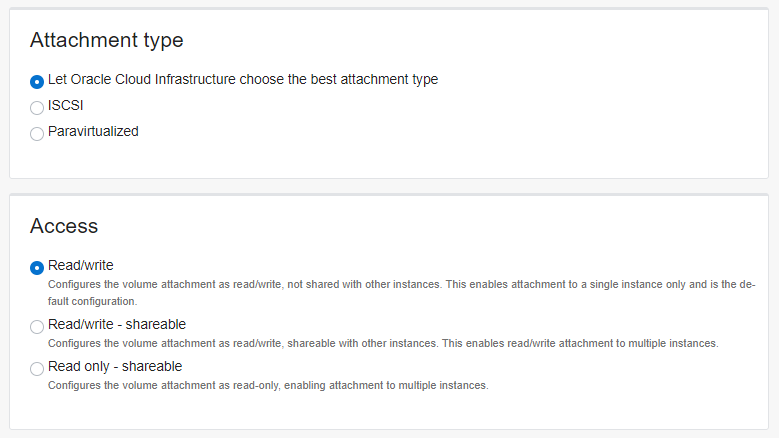
Attachment type: You can select either ISCSI or Paravirtualized, but use the default option that automatically selects OCI.
-
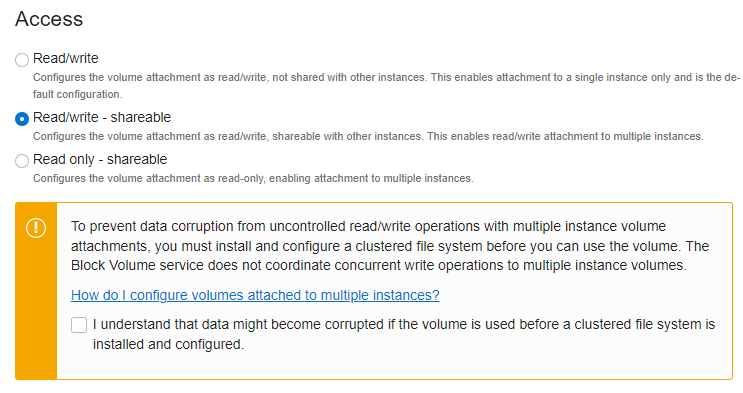
Access: Select default Read/Write as we will be using it on a single VM
- Read/write: Read/write possible by attaching to a single VM
- Read/write - shareable: Can be used in multiple VMs, but additional modules must be installed in the VM to be used.
- Read only - shareable: Can be used by multiple VMs, but can only be read. No need to install additional modules
-
-
Attach with the selected settings.
-
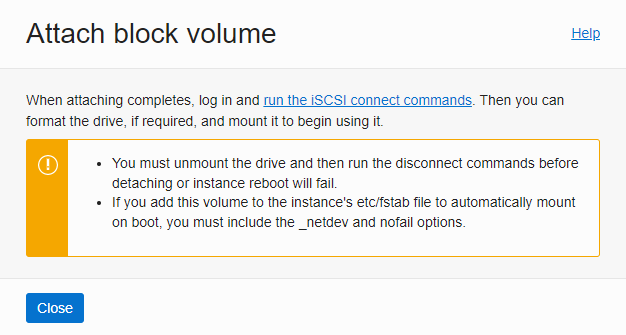
Check the warning text
The Block Volume is attached to the VM, but an operation on the OS inside the VM is required. Continue in the next chapter.
-
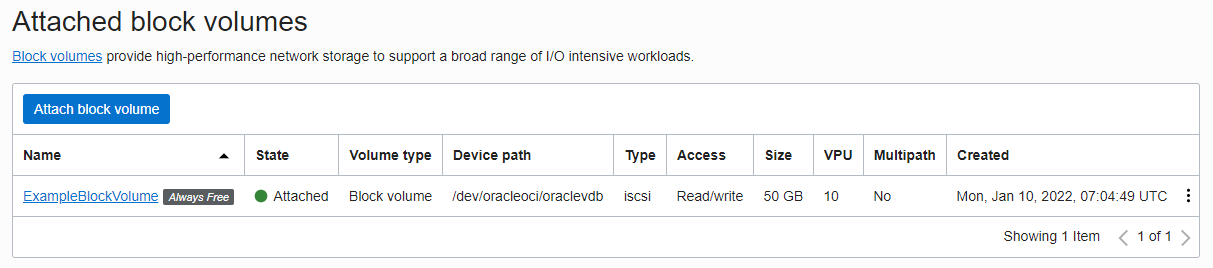
When completed, it will be in ATTACHED state, and installation on the instance is complete.
Access - Read/write - see shareable
-
The shared read/write Block Volume will be checked again later and refer to the contents shown on the console.
As an individual, this article was written with my personal time. There may be errors in the content of the article, and the opinions in the article are personal opinions.