Warning
This content has been generated by machine translation. The translations are automated and have not undergone human review or validation.
12.2 Creating Monitoring Alarm
Let’s create an alarm to send an email when CPU utilization reaches a specified number among monitoring set on Compute instance.
- Defined in Observability & Management > Monitoring > Alarm Definition in the navigation menu in the OCI console
- Defined in the options menu of the resource monitoring metric
There are two methods above, but in this document, we will proceed to the second method, which is easy to use because the alarm’s metric is automatically set as the selected monitoring metric.
Create Alarm from Metric
-
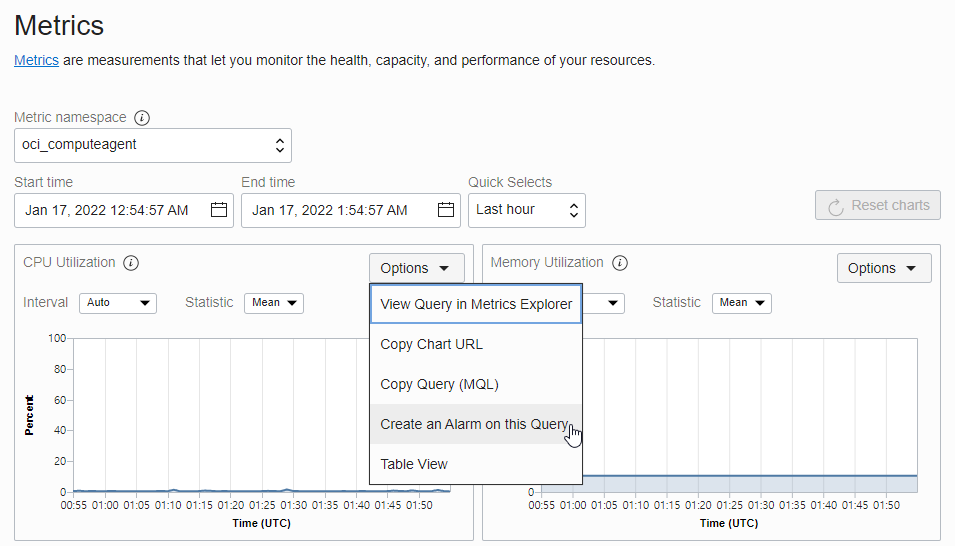
Select Resources > Metrics of the Compute instance you set up earlier.
-
In the options of CPU Utilization, click Create an Alarm on the Query
Alarm Definition
Complex alarm conditions are possible with the advanced mode Query, and the following is the basic mode for selecting the UI.
-
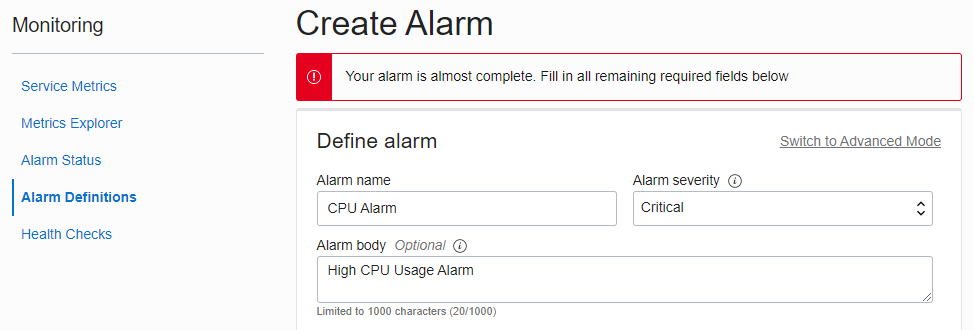
Alarm definition
- Alarm Name: Enter the alarm name to create
- Alarm severity: select the level, first select the default Critical
- Alarm body: Alarm message, enter a message to be forwarded by email later
-
Metric description
- Select Metric name: CpuUtilization.
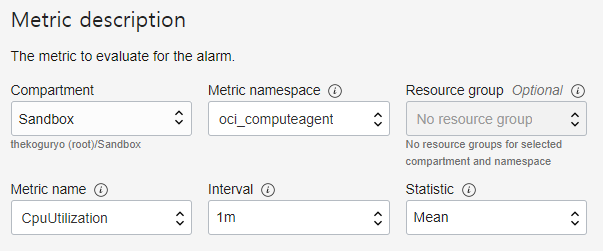
- Select Metric name: CpuUtilization.
-
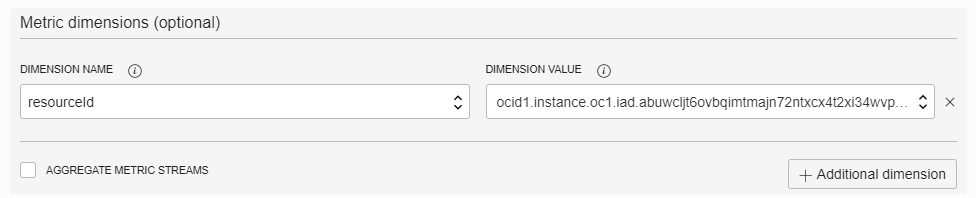
Metric dimensions
Specifies the scope of the cloud resource to be monitored.
The Compute instance you selected earlier is set up automatically.
-
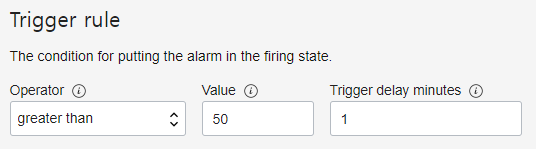
Trigger rule
Specify the condition to set the alarm. When the previously set metric criterion (CPU usage average for 1 minute) is 50% or more
Notification Definition
-
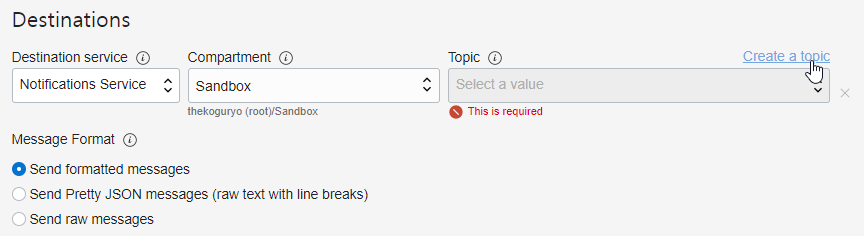
Select Notification Target
Specifies the target topic of the Notification service to be notified when an alarm is triggered. If you already have a topic, you can select it, but if it doesn’t, click Create a topic to create one
-
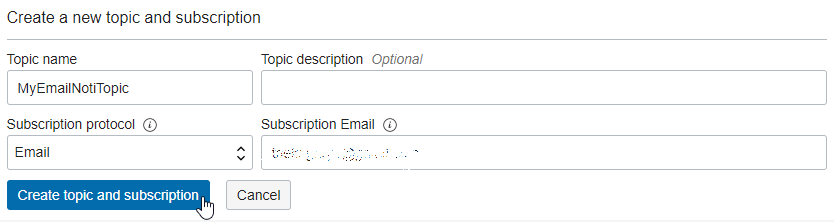
Create a target topic
-
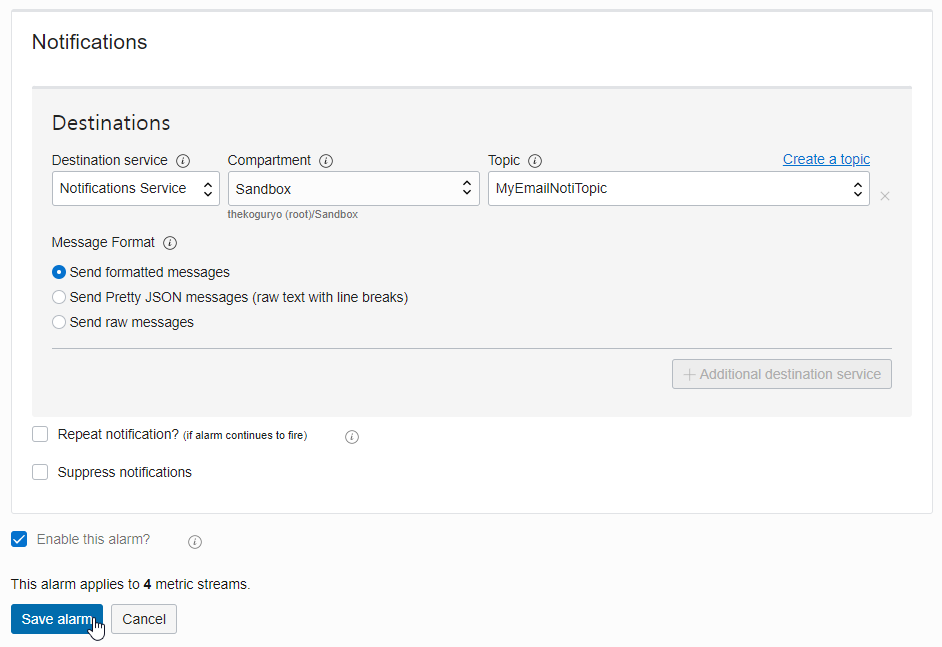
Select the topic created as Destination
-
Click Save alarm below
Notification - EMail authentication
-
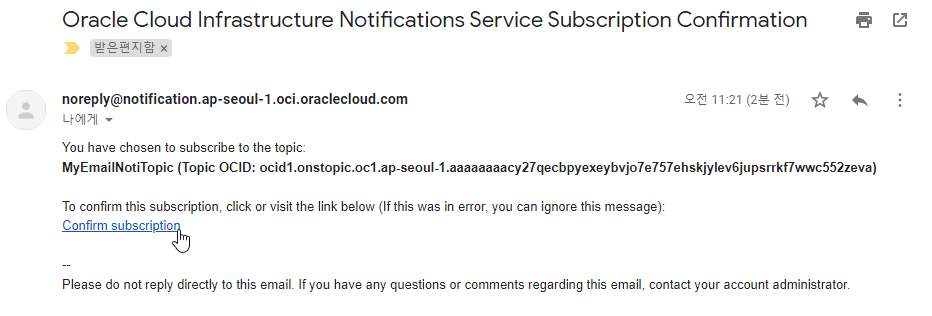
If you set the topic’s subscription protocol to email, a verification email is sent to the target email.
-
Check the received email and click the verification link.
-
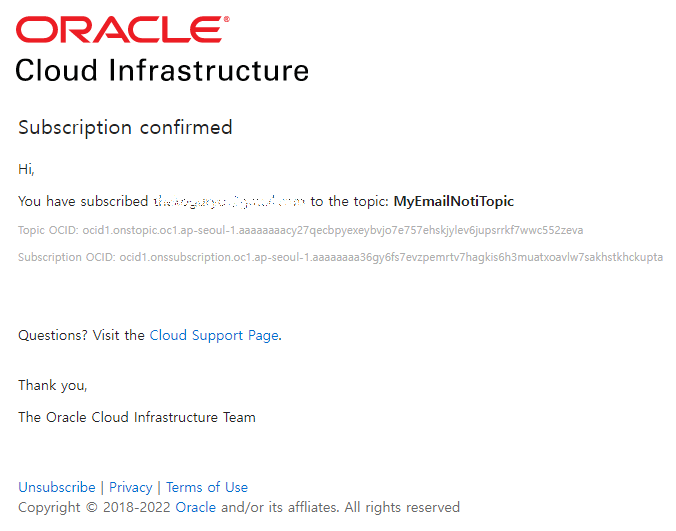
Subscription confirmation window
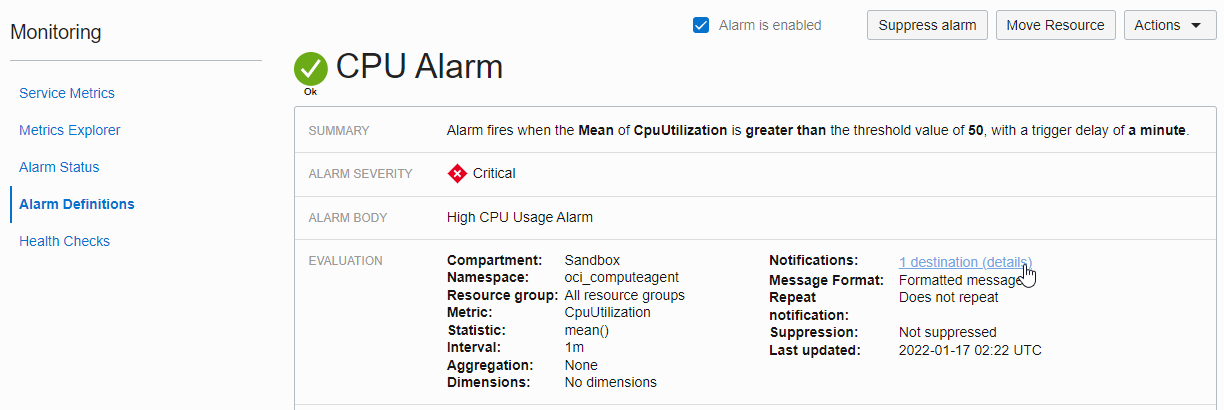
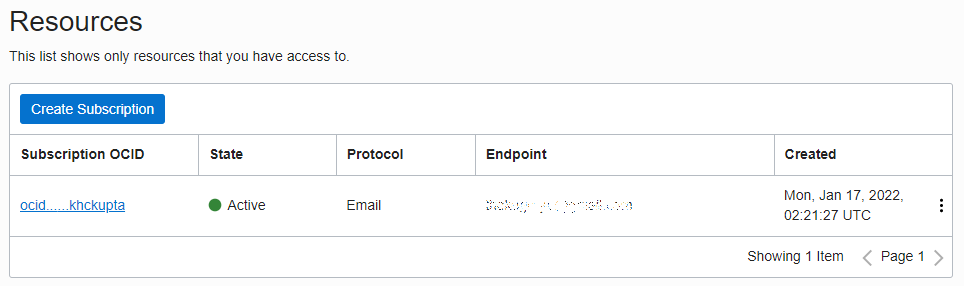
Notification - Check EMail Topic Status
-
Click the notification target of CPU Alarm created earlier
-
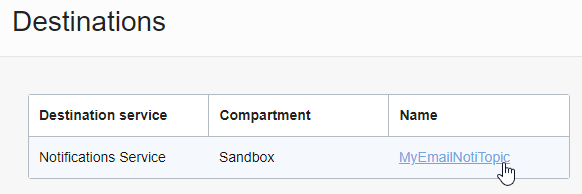
Select the topic you created earlier
-
Confirm that your email subscription is Active
Alarm occurrence test
-
Connect to the Compute instance where monitoring and alarm are set via SSH.
-
Install the stress tool
sudo yum-config-manager --enable ol7_developer_EPEL sudo yum install -y stress -
Perform stress
sudo stress --cpu N --timeout N
Execution example
Adjust according to the number of CPUs of the Compute Instance to be used.
[opc@webserver1 ~]$ sudo stress --cpu 4 --timeout 60
stress: info: [12194] dispatching hogs: 4 cpu, 0 io, 0 vm, 0 hdd
stress: info: [12194] successful run completed in 60s
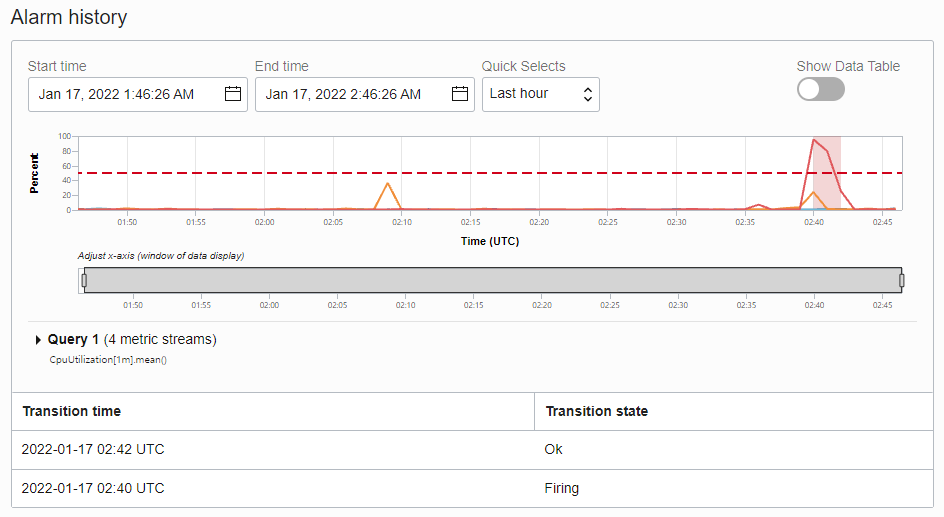
Alarm occurrence confirmation
-
You can check the history of the created Alarm below.
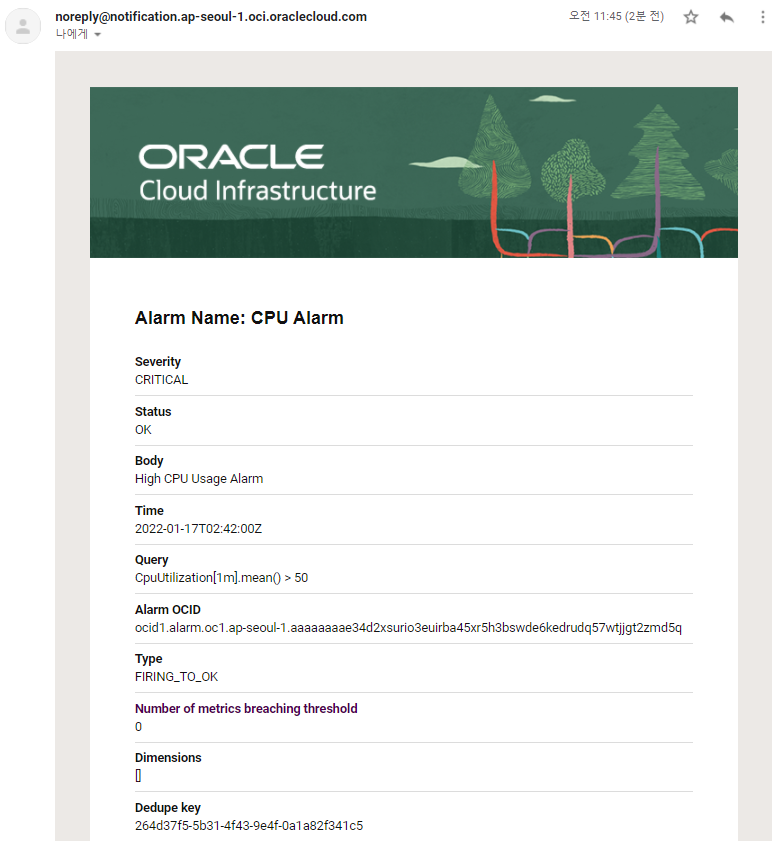
-
Confirm receipt of alarm mail
As an individual, this article was written with my personal time. There may be errors in the content of the article, and the opinions in the article are personal opinions.