Warning
This content has been generated by machine translation. The translations are automated and have not undergone human review or validation.
9.2 Create Custom Image from Instance
Important
Even if the target instance to create a Custom Image is equipped with a Block Volume, only the Boot Volume is included when creating a Custom Image.
Create Custom Image
-
Connect to the test VM and make a trace before creating a Custom Image.
[opc@examplelinuxinstance ~]$ echo 'See you soon' > hello.txt [opc@examplelinuxinstance ~]$ cat hello.txt See you soon -
Before creating a Custom Image, be sure to exit at the OS level first.
[opc@examplelinuxinstance ~]$ sudo su [root@examplelinuxinstance opc]# shutdown now Connection to 140.238.29.108 closed by remote host. Connection to 140.238.29.108 closed. -
Open the navigation menu in the OCI console. Go to Compute > Instances.
-
In the Compute Instance list, click the target instance.
-
After confirming once again whether the shutdown is at the OS level, exit with the Stop command in the console.
-
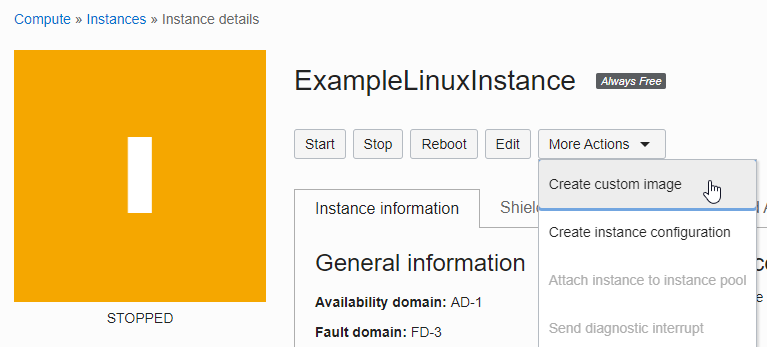
When the instance is stopped, click Create custom image.
-
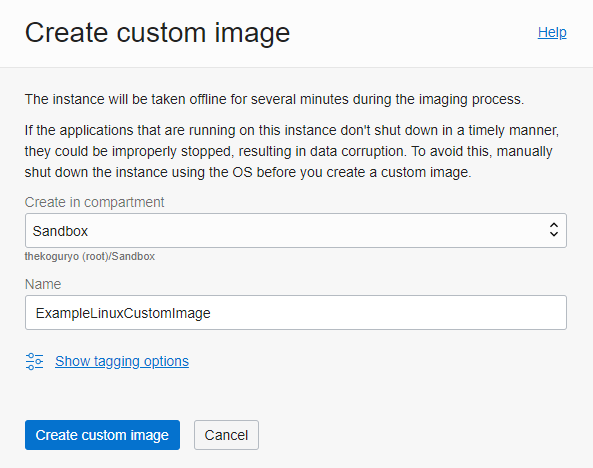
Select a compartment to save the custom image, enter a name and click Create custom image.
- Name: Ex) ExampleLinuxCustomImage
- In the warning below, it is recommended to terminate the instance after shutting down the OS before creating the Custom Image.
-
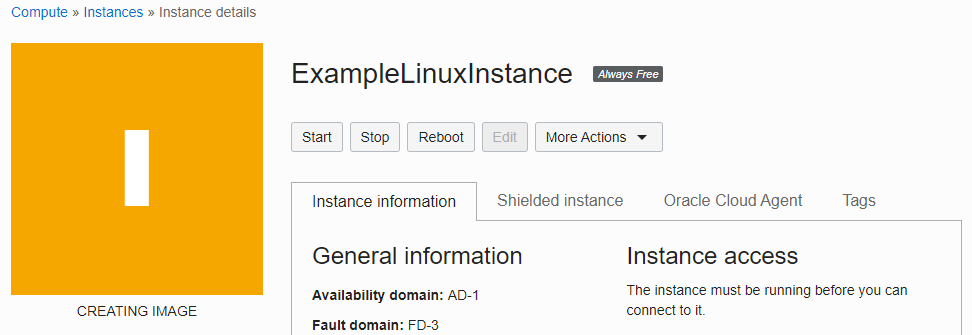
Image is being created.
-
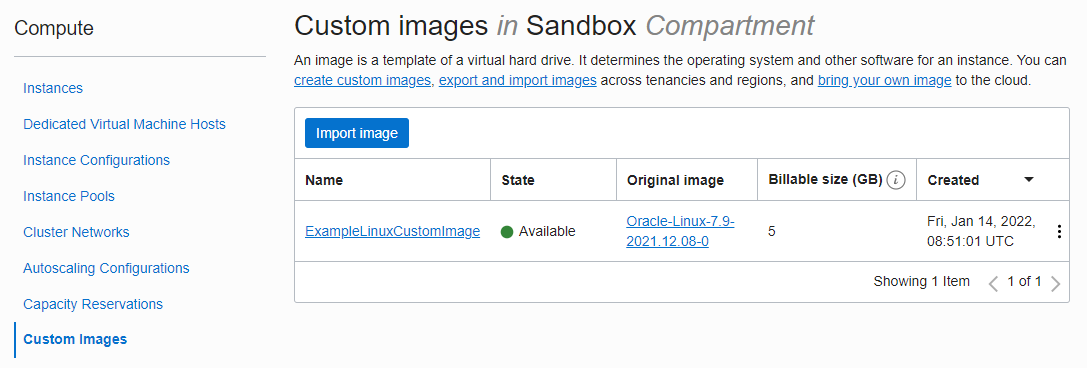
Go back to the instance list screen and go to the Custom Images menu on the left to see the current Custom Image list.
Create a new instance of Custom Image
Method 1
-
Select a desired image from the Custom Images list and click Create Instance in the right action menu to move to the instance creation screen based on the image.
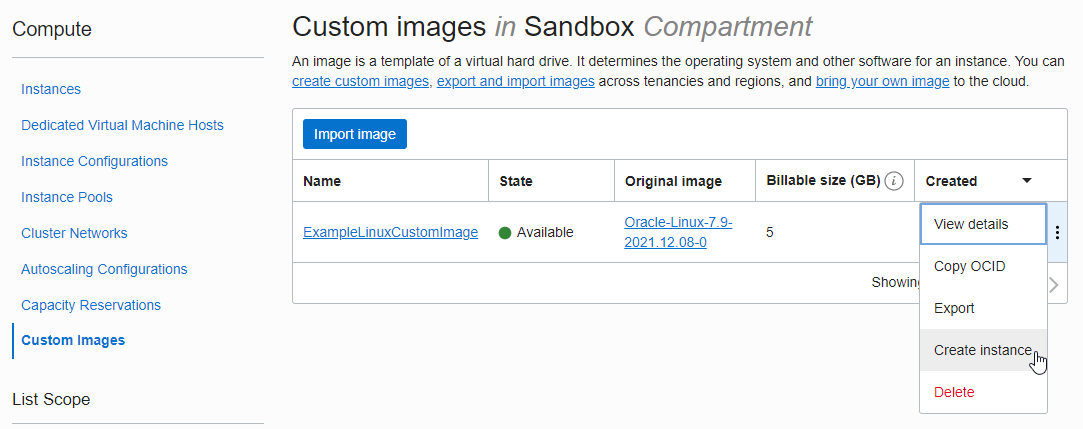
-
Enter any other required information and create an instance.
Method 2
- Open the navigation menu in the OCI console. Go to Compute > Instances.
- Click Create Instance to start creating an instance.
- Change the image via Change Image in Image and Shape.
- Under Image Sources, select Custom Images.
- Select Compartment with Custom Images and you will see a list of available Custom Images. Select the Custom Image you want to use and click Select Image.
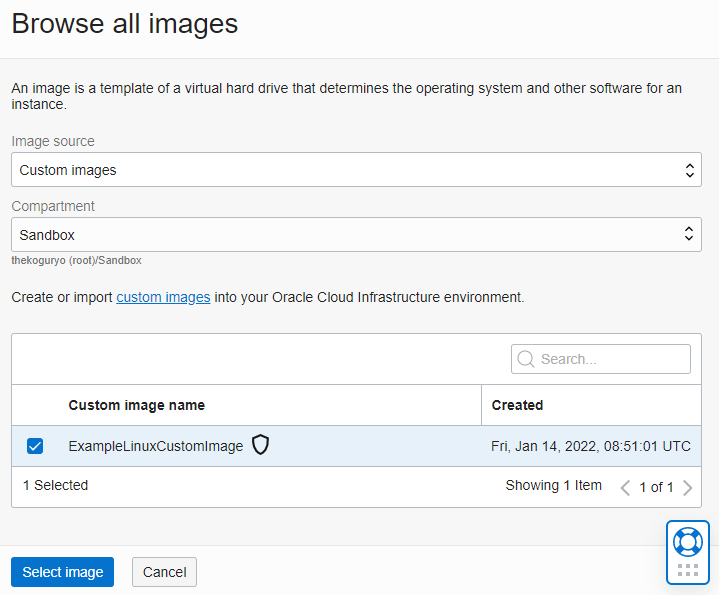
- Enter any other required information and create an instance.
verification
-
An instance was created based on the Custom Image.
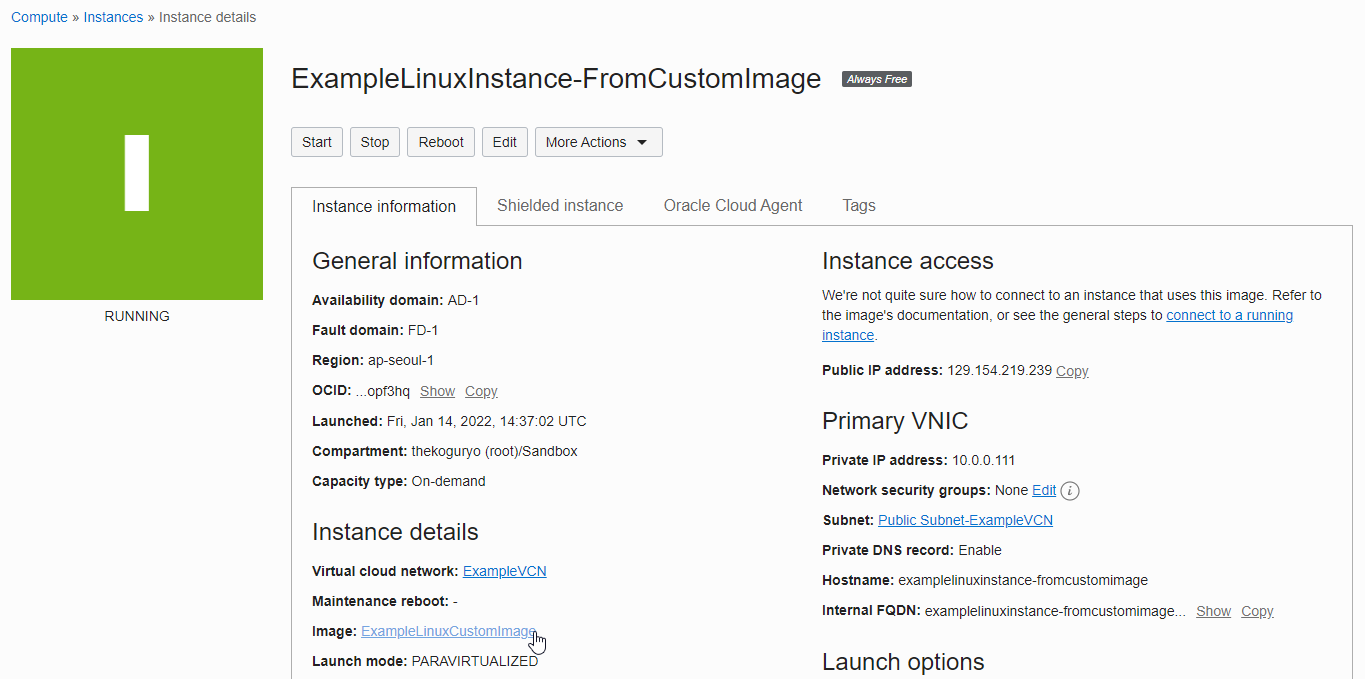
-
Connect to the created instance and check if there is a previously created file.
ubuntu@NOTEBOOK-WORK:~/.ssh$ ssh -i mysshkey opc@129.154.219.239
Last login: Fri Jan 14 14:31:26 2022 from 220.117.236.6
[opc@examplelinuxinstance-fromcustomimage ~]$ ls
hello.txt
[opc@examplelinuxinstance-fromcustomimage ~]$ cat hello.txt
See you soon
As an individual, this article was written with my personal time. There may be errors in the content of the article, and the opinions in the article are personal opinions.