4.1.5.3 OCI Load Balancer 기반 NGINX Ingress Controller에서 클라이언트 IP 얻기
Nginx Ingress Controller를 사용할 때, Pod에 있는 애플리케이션에서 모니터링 등을 위해 실 Client IP를 확인 할 필요가 있습니다. 하지만, 클라이언트의 요청은 Nginx Ingress Controller가 사용하는 OCI Load Balancer를 거쳐 오기 때문에, 실제 Client IP가 아닌, Load Balancer IP가 찍히게 됩니다. 여기서는 실제 Client IP를 얻기 위한 방법을 알아봅니다.
앞선 OCI Network Load Balancer는 L4이고, OCI Load Balancer는 L7입니다. OCI WAF(Web Application Firewall)과 OCI WAA(Web Application Acceleration) 서비스를 연동해서 사용하기 위해서는 L7인 OCI Load Balancer를 사용할 필요가 있어, OCI Load Balancer -> Ingress Controller 상에서도 동일하게 클라이언트 IP를 얻는 방법을 알아봅니다.
OCI Load Balancer → Apache HTTP Server on Compute VM
테스트를 위해 일반 Compute VM에 설치된 HTTPD 기준으로 Access 로그로 확인해 봅니다.
Apache HTTP Server 설치
5.1 Linux 인스턴스에 Apache HTTP Server 설치와 설치과정은 거의 같습니다.
Compute VM을 생성합니다.
생성한 Instance에 SSH 명령을 통해 접속
Apache HTTP Server 설치
# Apache HTTP Server 설치
sudo yum -y install httpd
# OS 방화벽에서 Apache HTTP용 포트, 80 포트 개방
sudo firewall-cmd --permanent --add-port=80/tcp
# 방화벽 변경정보 다시 반영
sudo firewall-cmd --reload
# Apache 시작
sudo systemctl start httpd
테스트를 위해 서버의 Root Index Document 생성
sudo su
echo 'Hello Apache on WebServer #1' >/var/www/html/index.html
설치후 테스트
[opc@webserver1 ~]$ curl http://127.0.0.1
Hello Apache on WebServer #1
Compute VM이 속한 Security List에서 80 포트를 오픈합니다.
Load Balancer 만들기
10.5 Load Balancer 만들기를 참고와 설치과정은 거의 같습니다.
- Load Balancer 유형으로 Load Balancer를 생성합니다.
- Backend Server로 설치한 Apache HTTP Server가 있는 Compute VM을 추가합니다.
- Listener는 HTTP로 설정합니다.
- 나머지는 기본값을 사용합니다.
- Load Balancer가 생성되는 Public IP를 확인합니다.
Apache 포렌식 로그 설정
생성한 Compute VM에 SSH 명령을 통해 접속
HTTPD의 전체 Request Headers 확인하기 위해 포렌식 로그를 설정합니다.
/etc/httpd/conf/httpd.conf의 마지막에 다음 추가
LoadModule log_forensic_module /usr/lib64/httpd/modules/mod_log_forensic.so
<IfModule log_forensic_module>
ForensicLog /var/log/httpd/forensic.log
</IfModule>
재시작
sudo systemctl restart httpd
테스트
로그를 확인합니다.
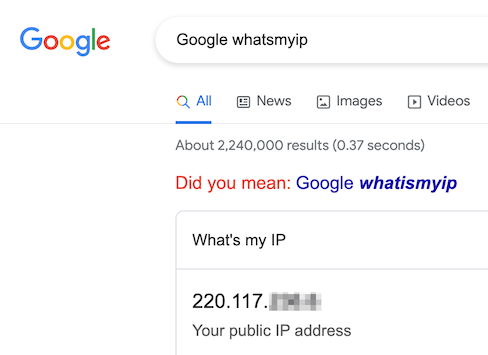
sudo tail -f /var/log/httpd/forensic.logGoogle에서 whatsmyip로 검색하여 작업 PC의 IP를 확인합니다.
- 예, 220.117.xxx.x
웹 브라우저에서 Load Balancer Public IP로 접속합니다.
forensic.log 로그를 확인합니다.
+Y-jNMn8Yjl32cJJP5KF@vwAAAAI|GET / HTTP/1.1|Host:144.24.xx.xxx|X-Real-IP:220.117.xxx.x|X-Forwarded-For:220.117.xxx.x|X-Forwarded-Proto:http|X-Forwarded-Port:80|X-Forwarded-Host:144.24.xx.xxx%3a80|Upgrade-Insecure-Requests:1|User-Agent:Mozilla/5.0 (Macintosh; Intel Mac OS X 10_15_7) AppleWebKit/537.36 (KHTML, like Gecko) Chrome/109.0.0.0 Safari/537.36|Accept:text/html,application/xhtml+xml,application/xml;q=0.9,image/avif,image/webp,image/apng,*/*;q=0.8,application/signed-exchange;v=b3;q=0.9|Accept-Encoding:gzip, deflate|Accept-Language:en-US,en;q=0.9,ko-KR;q=0.8,ko;q=0.7|If-None-Match:"1d-5f572e756e170"|If-Modified-Since:Fri, 24 Feb 2023 14%3a25%3a39 GMT- Host:144.24.xx.xxx - Load Balancer의 IP가 찍힙니다.
- X-Real-IP:220.117.xxx.x - 클라이언트 IP가 찍힙니다.
- X-Forwarded-For:220.117.xxx.x - 클라이언트 IP가 찍힙니다.
Load Balancer를 거쳐오는 요청은 HTTP Request Header의 X-Forwarded-For 값으로 확인할 수 있는 것을 알 수 있습니다.
OCI Load Balancer → nginx ingress controller on OKE → 애플리케이션 Pod on OKE
기본 설치 상태에서 애플리케이션 로그 확인하기
NGINX Ingress Controller 디폴트 상태로 설치 합니다.
테스트 앱을 설치합니다.
인그레스 주소를 확인하고, 접속합니다.
$ kubectl get ingress
NAME                 CLASS    HOSTS   ADDRESS          PORTS   AGE
ingress-path-basic   <none>   *       146.24.xxx.xxx   80      21m
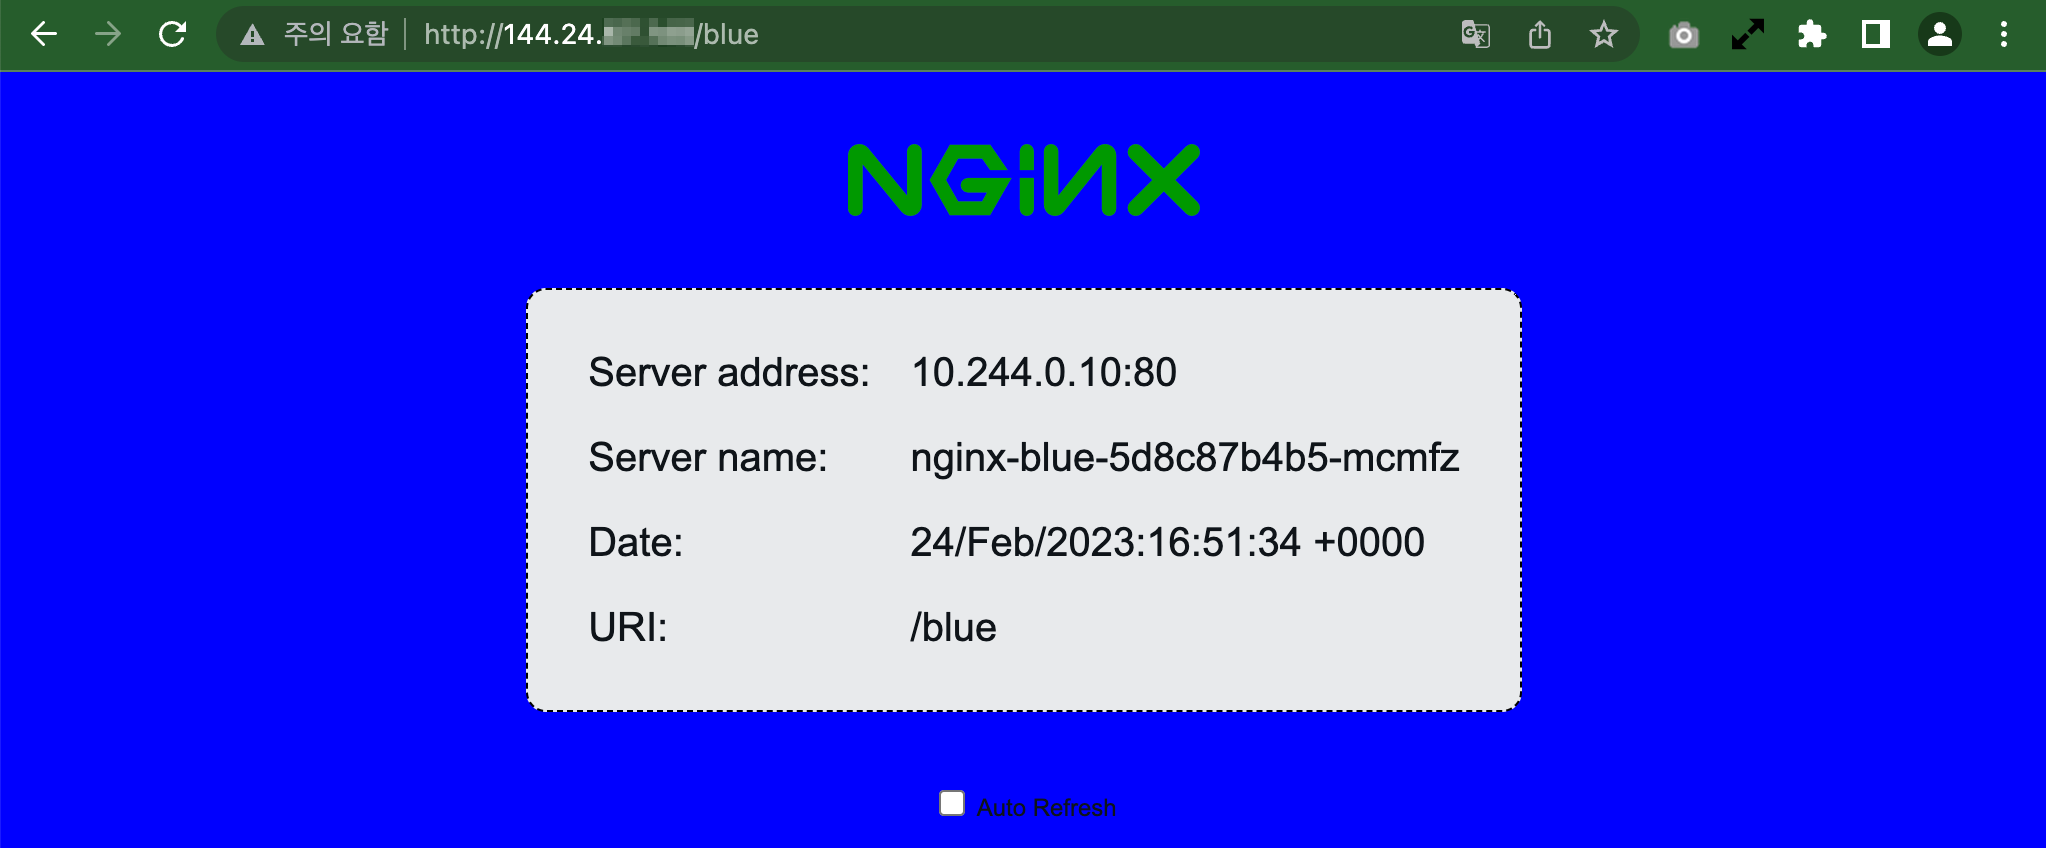
테스트 앱을 브라우저로 접속합니다.
애플리케이션 로그를 확인합니다.
$ kubectl logs -lapp=nginx-blue -f
10.244.0.13 - - [24/Feb/2023:14:59:58 +0000] "GET /blue HTTP/1.1" 200 7271 "-" "Mozilla/5.0 (Macintosh; Intel Mac OS X 10_15_7) AppleWebKit/537.36 (KHTML, like Gecko) Chrome/109.0.0.0 Safari/537.36" "10.244.0.128"
예시에서는 클라이언트 주소가 10.244.0.13로 나옵니다. ingress controller의 Pod IP입니다.
$ kubectl get pod -n ingress-nginx -o wide
NAME                                                     READY   STATUS    RESTARTS   AGE     IP             NODE          NOMINATED NODE   READINESS GATES
...
ingress-nginx-controller-77b7689c96-msmfj   1/1     Running   0          4h42m   10.244.0.13    10.0.10.174   <none>           <none>
X-Forwarded-For는 10.244.0.128로 다른 IP가 보입니다. Load Balancer IP(146.24.xxx.xxx), Client IP(220.117.xxx.x)도 아닙니다.
테스트에서 보듯이, 기본 Nginx Ingress Controller 설치상태에서는 애플리케이션 Pod에서 찍히는 Client IP는 실제 클라이언트의 IP가 아님을 알 수 있습니다.
nginx ingress controller 설정 확인하기
nginx ingress controller pod에 접속하여 nginx.conf 설정을 확인합니다.
kubectl exec -it -n ingress-nginx ingress-nginx-controller-77b7689c96-msmfj -- cat /etc/nginx/nginx.confLoad Balancer가 X-Forwarded-For로 넘겨준 값이 들어 있는 $http_x_forwarded_for를 X-Original-Forwarded-For에 넣어서 뒤로 넘겨주는 것을 알 수 있습니다. 애플리케이션 Pod에서 X-Original-Forwarded-For을 이용하면 되겠지만, 그로인해 변경이 필요할 것입니다.
                        proxy_set_header X-Real-IP              $remote_addr;

                        proxy_set_header X-Forwarded-For        $remote_addr;

                        proxy_set_header X-Forwarded-Host       $best_http_host;
                        ..

                        # Pass the original X-Forwarded-For
                        proxy_set_header X-Original-Forwarded-For $http_x_forwarded_for;
클라이언트 IP를 얻기 위해 관련 설정하기
배포된 NGINX Ingress Controller의 Load Balancer Service를 수정합니다.
kubectl edit svc ingress-nginx-controller -n ingress-nginxClient IP를 보존하기 위해 다음 설정을 합니다.
Load Balancer 타입을 OCI Load Balancer로 설정합니다.
oci.oraclecloud.com/load-balancer-type: "lb"OCI Load Balancer의 Listener의 프로토콜은 설정합니다.
- 80은 HTTP, 443은 HTTPS로 설정해야 하나, 현재는 이 annotation에서는 하나만 설정할 수 있습니다. 기능이 업데이트되면, 내용을 다시 업데이트 하겠습니다. 여기서는 테스트를 위해 HTTP로 설정합니다.
service.beta.kubernetes.io/oci-load-balancer-backend-protocol: HTTPspec.externalTrafficPolicy을 Local로 지정합니다.
externalTrafficPolicy: Local다운받은 NGINX Ingress Controller 설치 파일 변경 예시
...
---
apiVersion: v1
kind: Service
metadata:
  ...
  name: ingress-nginx-controller
  namespace: ingress-nginx
  annotations:
    oci.oraclecloud.com/load-balancer-type: "lb"
    service.beta.kubernetes.io/oci-load-balancer-backend-protocol: HTTP
spec:
  externalTrafficPolicy: Local
...
nginx ingress controller 설정이 ConfigMap을 변경합니다.
kubectl edit cm ingress-nginx-controller -n ingress-nginxenable-real-ip: "true"설정proxy-real-ip-cidr:"<LB-SUBNET-CIDR-BLOCK>- 생성되는 Load Balancer가 속한 서브넷의 CIDR Block 입력ingress-nginx-controller ConfigMap 설정 변경 예시
apiVersion: v1
data:
  allow-snippet-annotations: "true"
  enable-real-ip: "true"
  proxy-real-ip-cidr: "10.0.20.0/24"
kind: ConfigMap
...
ingress-nginx-controller를 재시작합니다.
kubectl delete pod -lapp.kubernetes.io/name=ingress-nginx -n ingress-nginx웹브라우저에서 관련 사이트를 통해, 자신의 Public IP를 확인합니다.

테스트 앱을 브라우저로 접속합니다.

애플리케이션 로그를 확인합니다.
- 예시에서는 클라이언트 주소가 10.244.0.13로 나옵니다. ingress controller의 Pod IP입니다.
- 예시에서는 X-Forwarded-For가 220.117.xxx.x로 앞서 확인한 나의 작업 PC의 Public IP가 나오는 것을 확인할 수 있습니다.
$ kubectl logs -lapp=nginx-blue -f
10.244.0.13 - - [24/Feb/2023:16:53:29 +0000] "GET /blue HTTP/1.1" 200 7271 "-" "Mozilla/5.0 (Macintosh; Intel Mac OS X 10_15_7) AppleWebKit/537.36 (KHTML, like Gecko) Chrome/109.0.0.0 Safari/537.36" "220.117.xxx.x"
테스트 결과와 같이 OCI 문서에 따라 Client IP를 보존하기 위한 관련 설정을 하면, 애플리케이션 Pod에서 실제 Client IP을 확인할 수 있습니다.
이 글은 개인으로서, 개인의 시간을 할애하여 작성된 글입니다. 글의 내용에 오류가 있을 수 있으며, 글 속의 의견은 개인적인 의견입니다.