9.2 인스턴스에서 Custom Image 만들기
중요
Custom Image를 만들 대상 Instance에 Block Volume이 장착되어 있더라도, Custom Image를 만들게 되면, Boot Volume만 포함되어 이미지가 만들어집니다.
Custom Image 만들기
테스트 VM에 접속하여, Custom Image 만들기 전에 흔적을 만듭니다.
[opc@examplelinuxinstance ~]$ echo 'See you soon' > hello.txt
[opc@examplelinuxinstance ~]$ cat hello.txt
See you soon
Custom Image를 생성하기 전에 반드시 먼저 OS 레벨에서 종료합니다.
[opc@examplelinuxinstance ~]$ sudo su
[root@examplelinuxinstance opc]# shutdown now
Connection to 140.238.29.108 closed by remote host.
Connection to 140.238.29.108 closed.
OCI 콘솔에서 내비게이션 메뉴를 엽니다. Compute > Instances 항목으로 이동합니다.
Compute Instance 목록에서 대상 인스턴스를 클릭합니다.
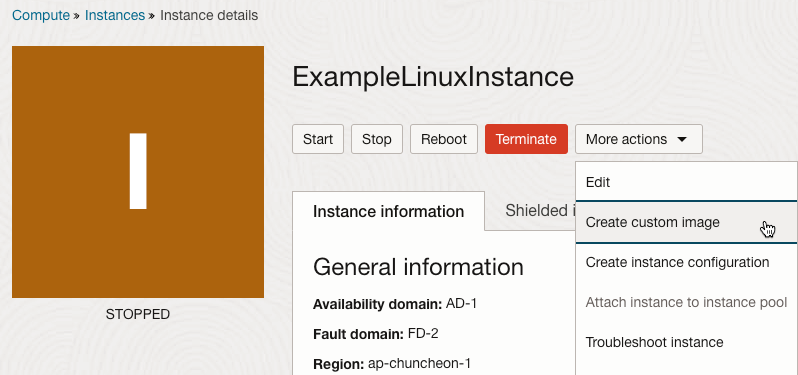
OS 레벨에서 종료 여부를 다시 한번 확인한후 콘솔에서 Stop 명령으로 종료합니다.
Instance가 중지되면 Create custom image를 클릭합니다.
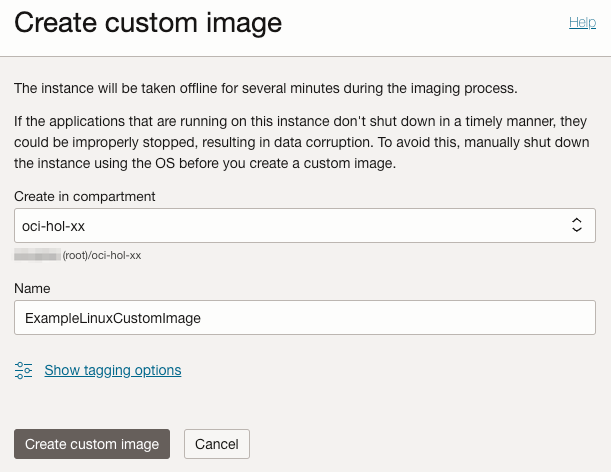
Custom Image를 저장할 Compartment를 선택하고, 이름을 입력 후 Create custom image를 클릭합니다.
- Name: 예) ExampleLinuxCustomImage
- 아래 경고문에서 Custom Image 생성 전에 OS에서 종료 후, 인스턴스를 종료할 것을 권고하고 있습니다.
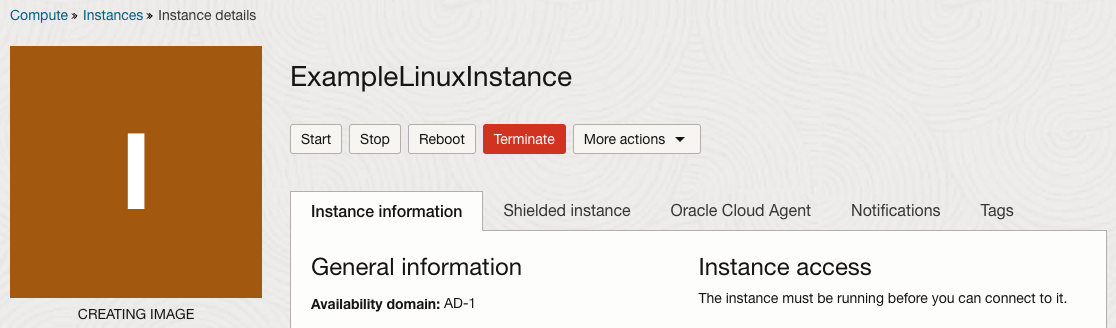
이미지 생성 중입니다.
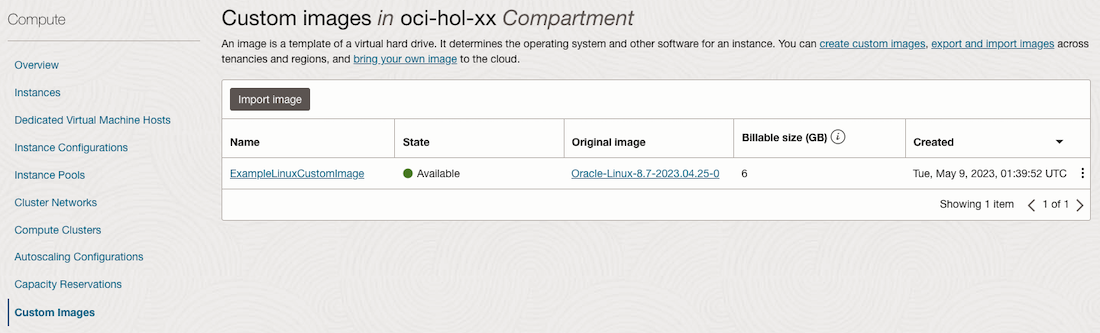
인스턴스 목록 화면으로 돌아가 왼쪽 Custom Images 메뉴로 가면 현재 Custom Image 목록을 확인할 수 있습니다.
Custom Image를 새 Instance 생성하기
방법 1
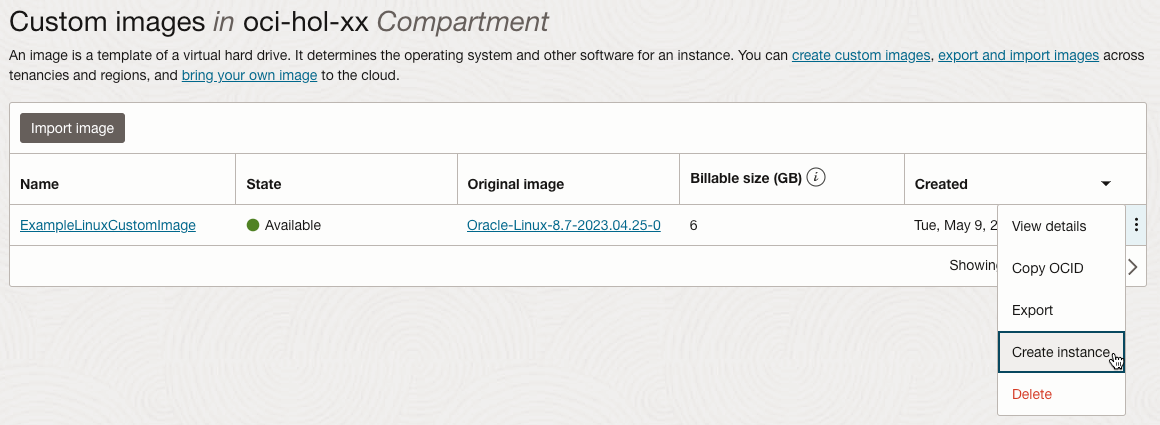
Custom Images 목록에서 원하는 이미지를 선택하고, 우측 액션 메뉴에서 Create Instance를 클릭하면, 해당 이미지를 기반으로 Instance 생성화면으로 이동합니다.
이미지가 선택된 상태로 Compute 인스턴스 생성화면이 뜹니다. 그 외 필요한 정보를 입력하고 인스턴스를 생성합니다.
방법 2
- OCI 콘솔에서 내비게이션 메뉴를 엽니다. Compute > Instances 항목으로 이동합니다.
- Create Instance 클릭하여 인스턴스 생성을 시작합니다.
- Image and Shape에서 Change Image를 통해 이미지를 변경합니다.
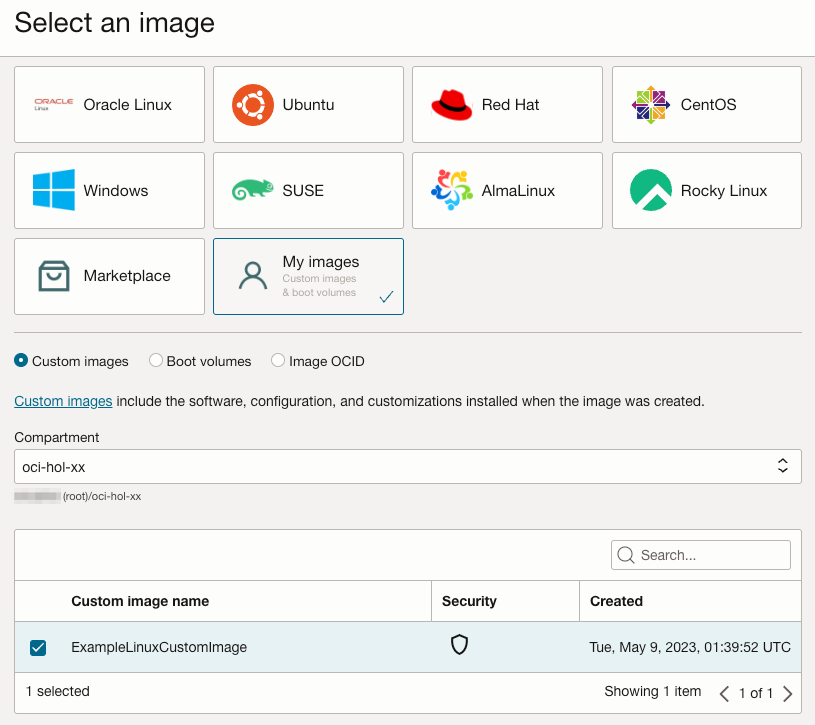
- My images > Custom images에서 사용가능한 커스텀 이미지를 확인할 수 있습니다. 사용할 Custom Image를 선택하고 Select Image을 클릭합니다.
- 그 외 필요한 정보를 입력하고 인스턴스를 생성합니다.
검증
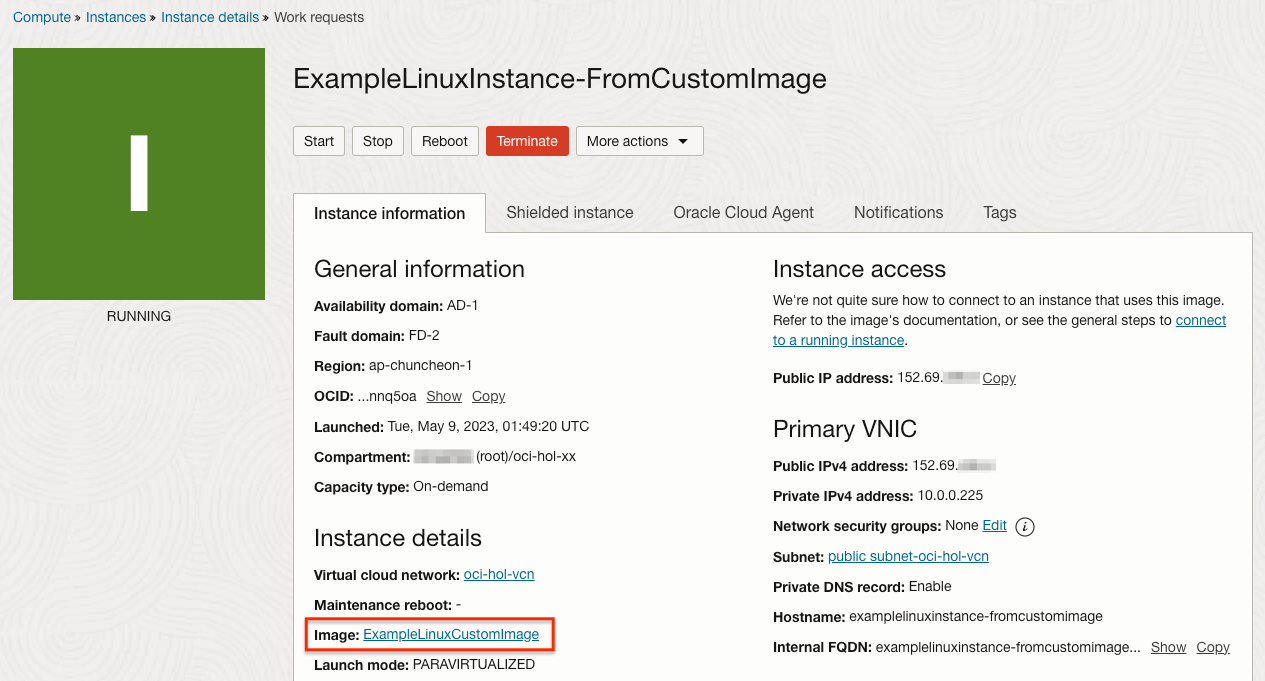
Custom Image를 기준으로 인스턴스가 생성되었습니다.
생성된 인스턴스에 접속하여 이전에 작성한 파일이 있는 지 확인합니다.
$ ssh opc@152.69.xxx.xxx
FIPS mode initialized
The authenticity of host '152.69.xxx.xxx (152.69.xxx.xxx)' can't be established.
ECDSA key fingerprint is SHA256:d3Mv5x9ZJ9/cUqi+3n94Q9K1Acf6BE48V8N42GVyUak.
ECDSA key fingerprint is SHA1:nMSNlmgEb++egZCRWp+XyY6AnCI.
Are you sure you want to continue connecting (yes/no)? yes
Warning: Permanently added '152.69.xxx.xxx' (ECDSA) to the list of known hosts.
Activate the web console with: systemctl enable --now cockpit.socket

Last login: Tue May  9 01:30:32 2023 from 132.145.85.85
[opc@examplelinuxinstance-fromcustomimage ~]$ ls
hello.txt
[opc@examplelinuxinstance-fromcustomimage ~]$ cat hello.txt
See you soon
이 글은 개인으로서, 개인의 시간을 할애하여 작성된 글입니다. 글의 내용에 오류가 있을 수 있으며, 글 속의 의견은 개인적인 의견입니다.