Warning
This content has been generated by machine translation. The translations are automated and have not undergone human review or validation.
1.3.2 Connecting to a cluster in the local environment
OCI CLI installation and environment configuration
Install OCI CLI
Install OCI OCI by referring to the official documentation.
Oracle Linux Base Example
Installation
bash -c "$(curl -L https://raw.githubusercontent.com/oracle/oci-cli/master/scripts/install/install.sh)"Check the installation
oci --version
OCI CLI Config File setting
Pre-check the information you need for setup
user OCID
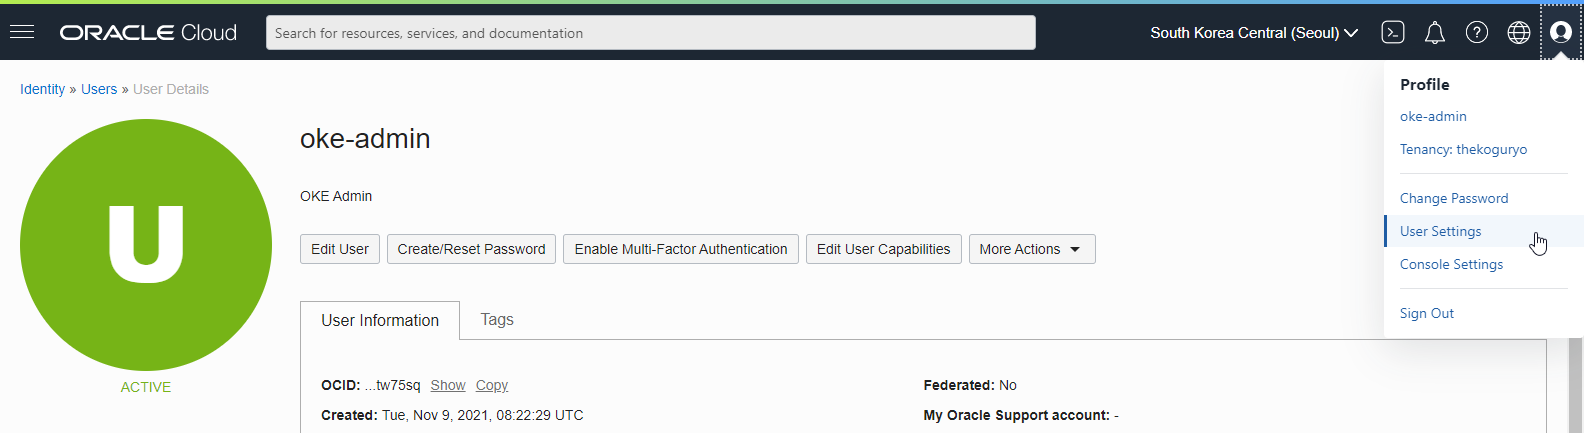
Click User Settings in the user profile in the upper right corner and check the user OCID
Tenancy OCID
Click Tenancy in the user profile in the upper right corner and check the Tenancy OCID

Region: Region to use
API Signing Key: For convenience, we will choose to create a new private key and public key.
Run setup config
oci setup config- Execution example
[opc@bastion-host ~]$ oci setup config
    This command provides a walkthrough of creating a valid CLI config file.
...
Enter a location for your config [/home/opc/.oci/config]:
Enter a user OCID: ocid1.user.oc1..aaaaaaaazo6ilmezdaeozjcmsu6rcxnf5sjz2fau76kpdjvsbbakhqtw75sq
Enter a tenancy OCID: ocid1.tenancy.oc1..aaaaaaaamd5zq7ohrxkmcsai23pp634k6i2eymnznv4d6ur7n5n4qj7jfhoq
Enter a region by index or name(e.g.
1: ap-chiyoda-1, 2: ap-chuncheon-1, 3: ap-hyderabad-1, 4: ap-ibaraki-1, 5: ap-melbourne-1,
6: ap-mumbai-1, 7: ap-osaka-1, 8: ap-seoul-1, 9: ap-singapore-1, 10: ap-sydney-1,
11: ap-tokyo-1, 12: ca-montreal-1, 13: ca-toronto-1, 14: eu-amsterdam-1, 15: eu-frankfurt-1,
16: eu-marseille-1, 17: eu-zurich-1, 18: il-jerusalem-1, 19: me-dubai-1, 20: me-jeddah-1,
21: sa-santiago-1, 22: sa-saopaulo-1, 23: sa-vinhedo-1, 24: uk-cardiff-1, 25: uk-gov-cardiff-1,
26: uk-gov-london-1, 27: uk-london-1, 28: us-ashburn-1, 29: us-gov-ashburn-1, 30: us-gov-chicago-1,
31: us-gov-phoenix-1, 32: us-langley-1, 33: us-luke-1, 34: us-phoenix-1, 35: us-sanjose-1): 8
Do you want to generate a new API Signing RSA key pair? (If you decline you will be asked to supply the path to an existing key.) [Y/n]:
Enter a directory for your keys to be created [/home/opc/.oci]:
Enter a name for your key [oci_api_key]:
Public key written to: /home/opc/.oci/oci_api_key_public.pem
Enter a passphrase for your private key (empty for no passphrase):
Private key written to: /home/opc/.oci/oci_api_key.pem
Fingerprint: a0:e1:fe:79:22:22:f0:b5:6b:29:72:5f:5d:b6:22:32
Config written to /home/opc/.oci/config


    If you haven't already uploaded your API Signing public key through the
    console, follow the instructions on the page linked below in the section
    'How to upload the public key':

        https://docs.cloud.oracle.com/Content/API/Concepts/apisigningkey.htm#How2
Register API Public Key
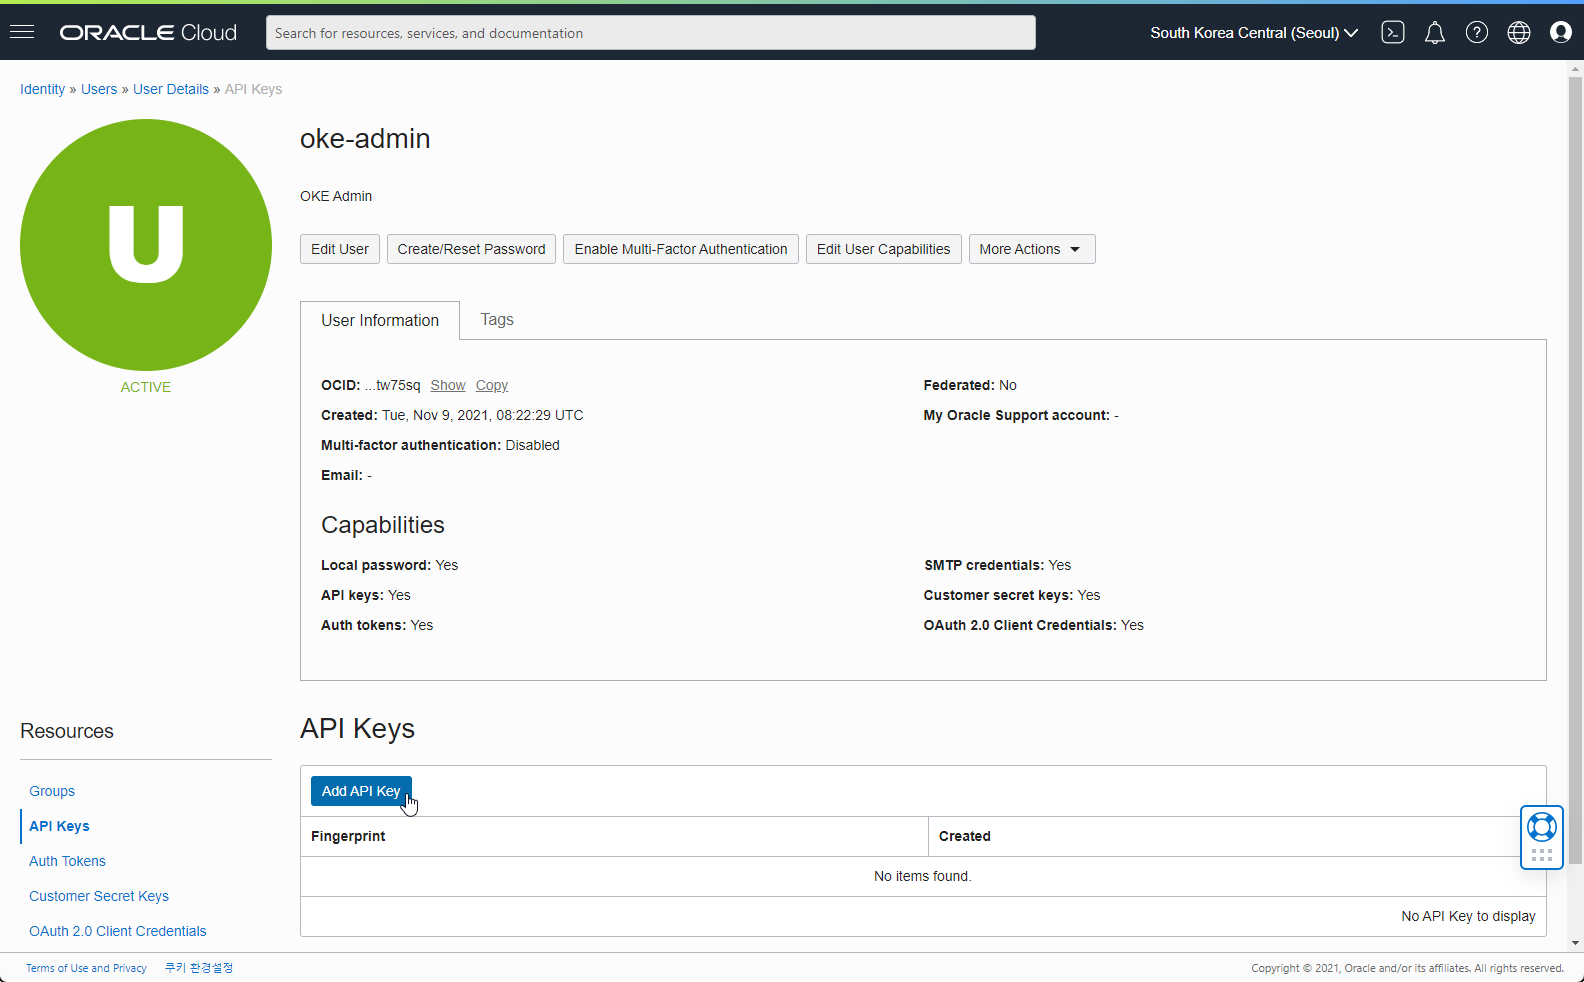
Go to the user detail page registered in OCI Config File
Select API Keys from Resources at the bottom left
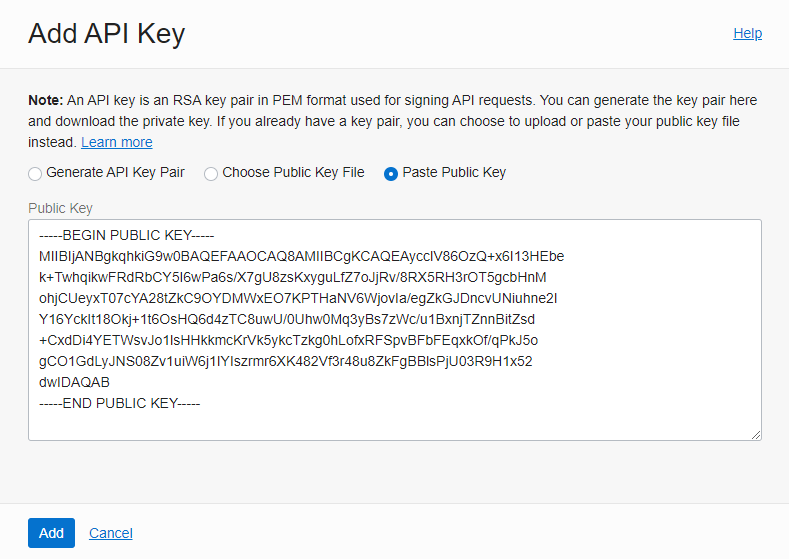
Click Add Public Key
Check the generated API Public Key after running oci setup config
[opc@bastion-host ~]$ cat ~/.oci/oci_api_key_public.pem
-----BEGIN PUBLIC KEY-----
MIIBIjANBgkqhkiG9w0BAQEFAAOCAQ8AMIIBCgKCAQEAycclV86OzQ+x6I13HEbe
...
gCO1GdLyJNS08Zv1uiW6j1IYIszrmr6XK482Vf3r48u8ZkFgBBlsPjU03R9H1x52
dwIDAQAB
-----END PUBLIC KEY-----
Add API Public Key to the generated API Public Key
API Public Key registration for OCI CLI completed

Check the connection
Go back to the Linux host and check the connection by executing
oci os ns get[opc@bastion-host ~]$ oci os ns get { "data": "cnrlxx3w0wgq" }
Install kubectl CLI and configure environment
Install kubectl CLI
Install kubectl OCI by referring to the official documentation.
Linux standard example
Installation
curl -LO "https://dl.k8s.io/release/$(curl -L -s https://dl.k8s.io/release/stable.txt)/bin/linux/amd64/kubectl"

sudo install -o root -g root -m 0755 kubectl /usr/local/bin/kubectl
Create kubeconfig file
On the OKE cluster detail page you created, click Access Cluster.
Click Local Access.
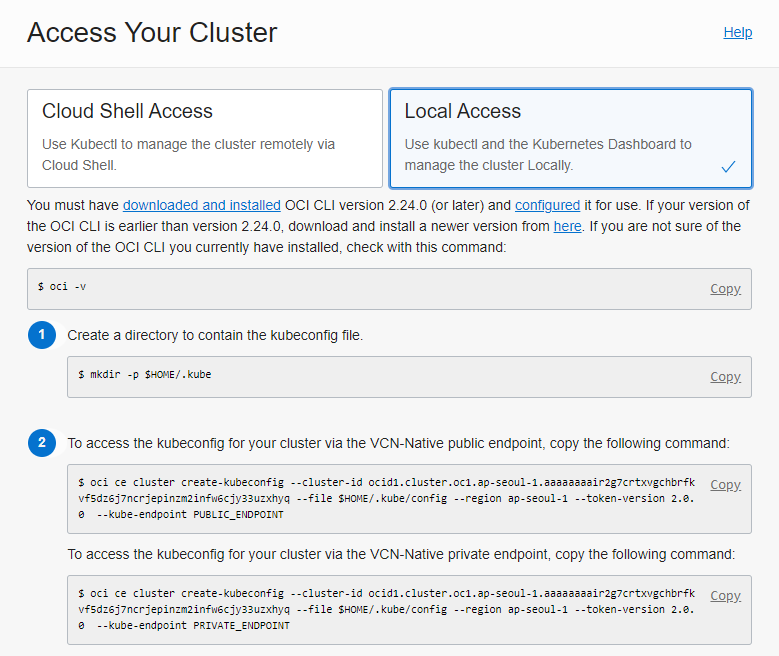
PRIVATE_ENDPOINT
It is also used when accessing the Kubernetes API through a private IP. PRIVATE_ENDPOINT, that is, access with a private IP is required, so it is used when performing on a server that can be accessed with an internal IP such as a bastion host.
- The bastion host needs to open port 22 so that it can be accessed via SSH from the outside, and it must be possible to access the Kubernetes API and Worker Nodes of the OKE cluster internally.
- Create kubeconfig file and check connection to cluster
[opc@bastion-host ~]$ oci ce cluster create-kubeconfig --cluster-id ocid1.cluster.oc1.ap-seoul-1.aaaaaaaair2g7crtxvgchbrfkvf5dz6j7ncrjepinzm2infw6cjy33uzxhyq --file $HOME/.kube/config --region ap-seoul-1 --token-version 2.0.0  --kube-endpoint PRIVATE_ENDPOINT
New config written to the Kubeconfig file /home/opc/.kube/config
[opc@bastion-host ~]$ kubectl cluster-info
Kubernetes control plane is running at https://10.0.0.4:6443
CoreDNS is running at https://10.0.0.4:6443/api/v1/namespaces/kube-system/services/kube-dns:dns/proxy

To further debug and diagnose cluster problems, use 'kubectl cluster-info dump'.
PUBLIC_ENDPOINT
It is also used when accessing the Kubernetes API through public IP. This method is available if you have given a public IP to the Kubernetes API when creating the OKE cluster. The command to create the actual kubeconfig file (oci ce cluster crate-kubeconfig ~~) is the same command except for the last option value, PUBLIC_ENDPOINT.
As an individual, this article was written with my personal time. There may be errors in the content of the article, and the opinions in the article are personal opinions.