Warning
This content has been generated by machine translation. The translations are automated and have not undergone human review or validation.
1.2 Creating an OKE Cluster
Create a cluster in Quick mode
As the first step to create the OKE cluster, a custom environment such as a separate OKE user and VCN will be used in the real environment, but as the first step to understand OKE, install it in Quick mode through the Administrator user.
Log in to the OCI console.
Go to Developer Services > Containers & Artifacts > Kubernetes Clusters (OKE) from the top left hamburger menu.
In List Scope, select the Compartment you want to create (eg oke-labs).
Click the Create Cluster button to create a cluster.
To understand the mood structure through OKE clusters created using the default Quick Create mode for quick cluster creation. Click Launch Workflow below.
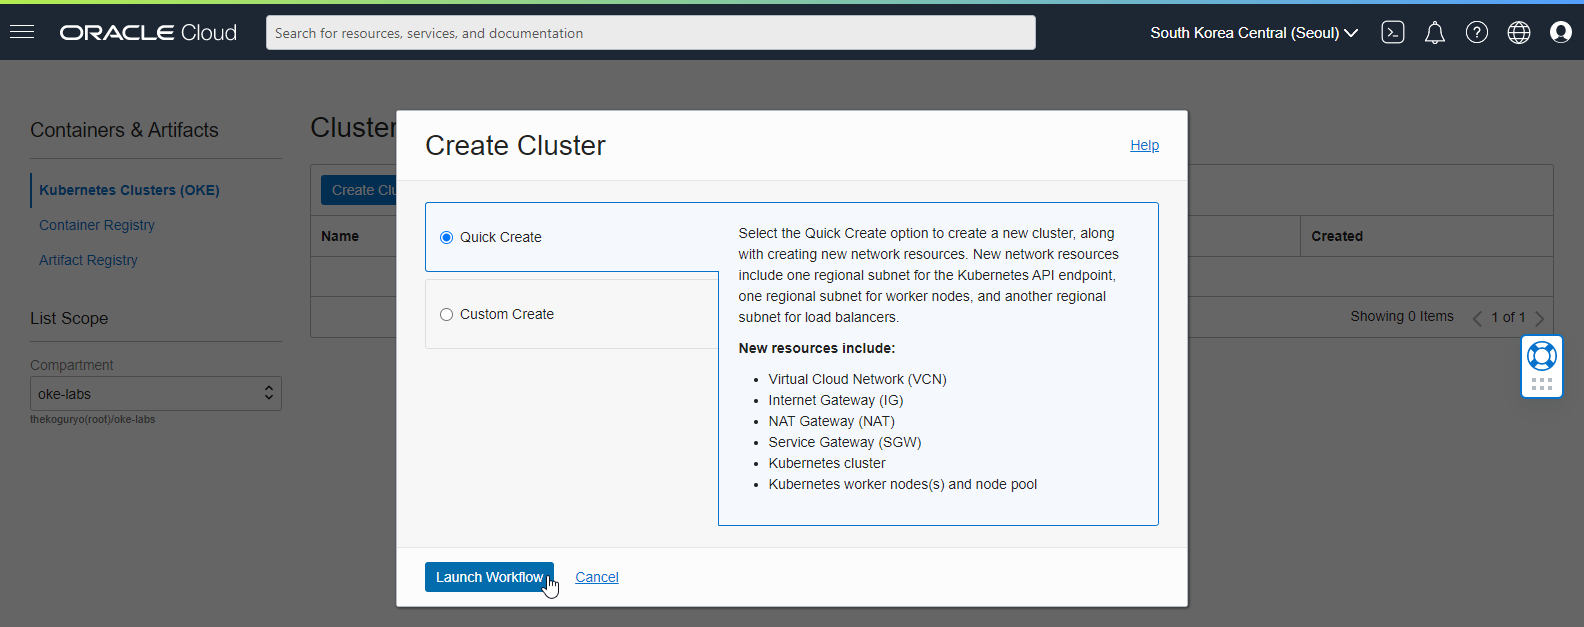
Cluster Creation Options
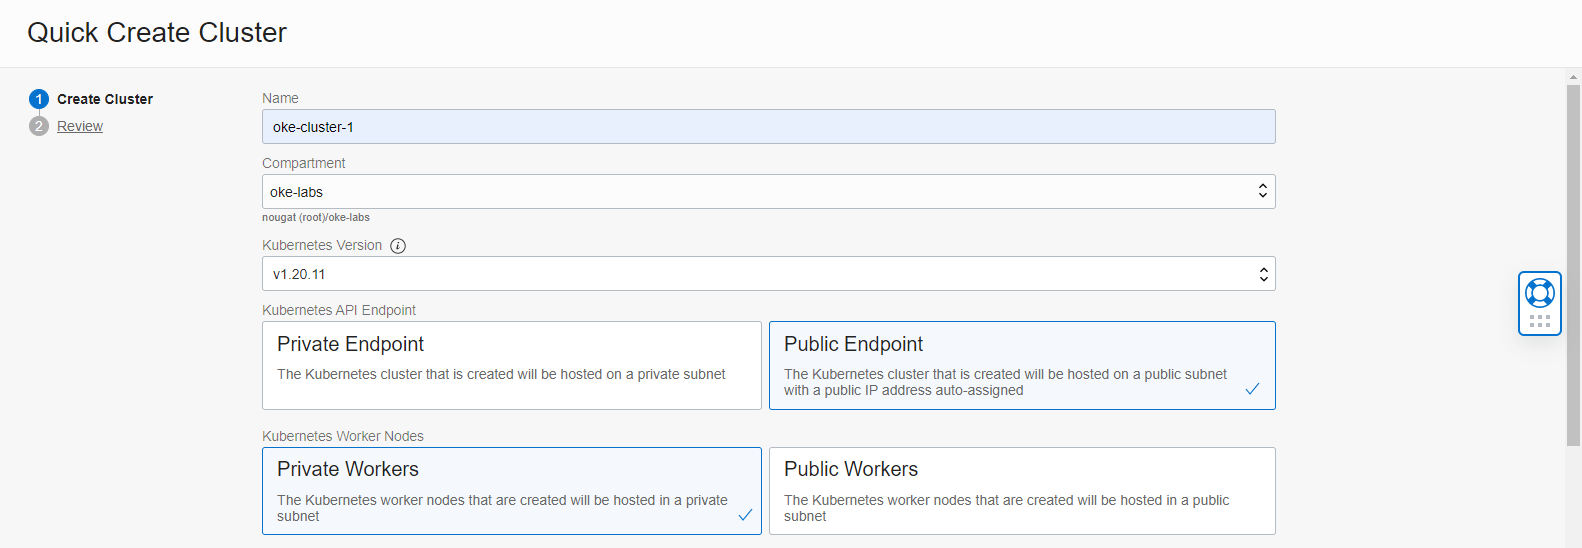
Enter the cluster name to be created. Ex) oke-cluster-1
Select the compartment to be installed. yes oke-labs
Choose the Kubernetes version for your cluster. Ex) v1.20.11
Kubernetes API Endpoints
- Use the default Public Endpoint for access to the public API
- Select whether to open the Kubernetes API as a private IP or a public IP. When installed with Quick Create, your choice determines whether the subnet where the Kubernetes API is located is set to be a Private Subnet or a Public Subnet.
Kubernetes Worker Nodes
- Select a method to connect to Worker Nodes. Use the default selected Private Worker
- Select whether to open the created Worker Nodes with Private IP or Public IP. When installed with Quick Create, the choice determines whether the subnet where the Worker Nodes are located is set as Private Subnet or Public Subnet.
Shape Specifies the VM Shape to be used as a Worker Node. Adjust OCPU and Memory as needed in the default selected Flex Shape.
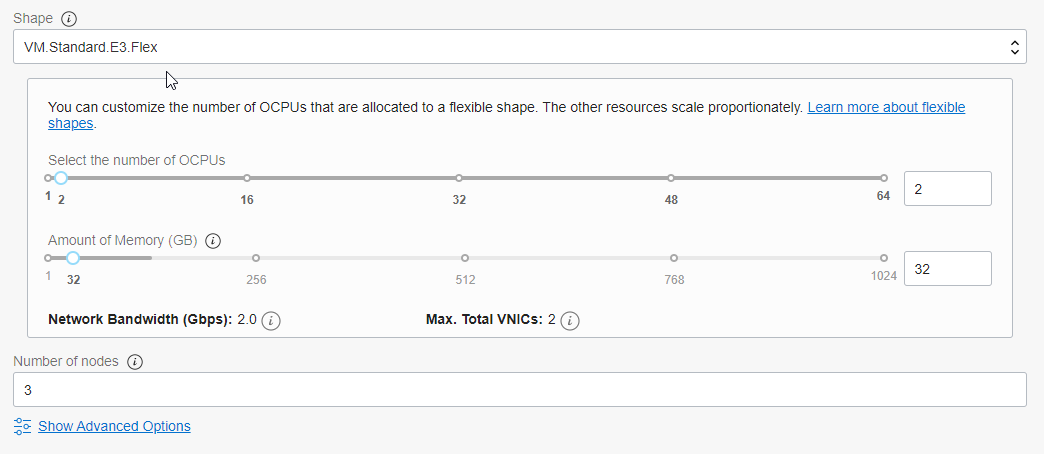
Number of nodes
Specifies the number of Worker Nodes. The default value is three.
Control Planes (Master Nodes)
Control Plane is an area managed by OCI and cannot be specified separately, and is multiplexed by default.
Advanced Options
- Add an SSH Key
- SSH Key registration is required to access the Worker Node VM for troubleshooting, etc. Register the public key of the SSH key to be used as follows.
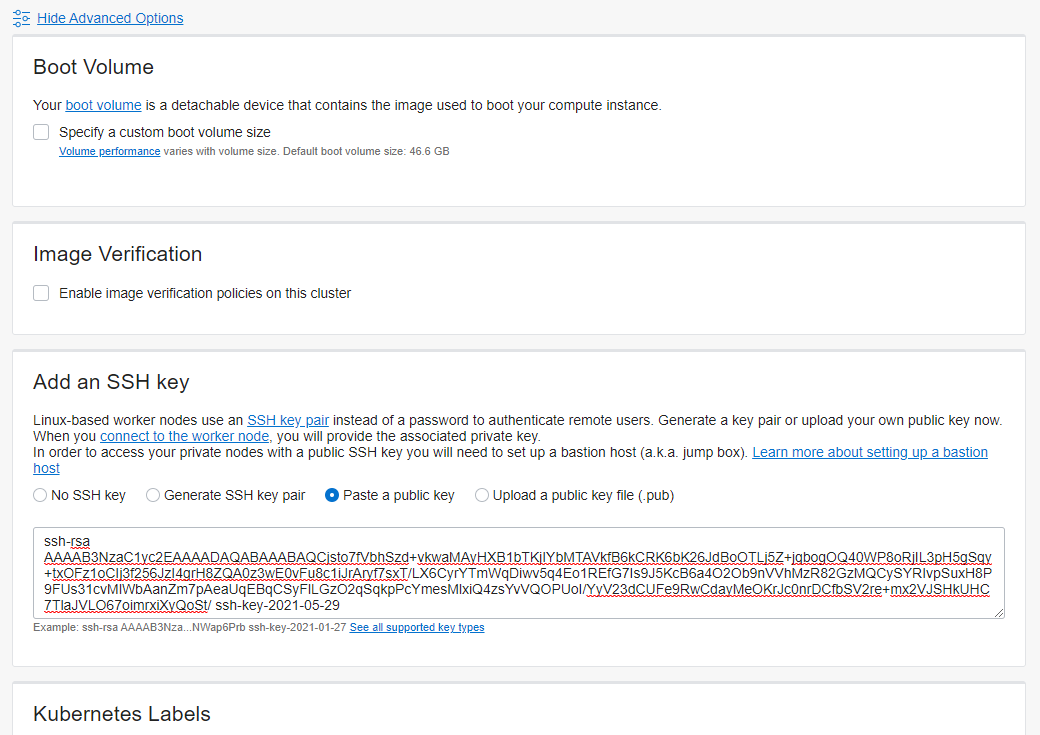
- Add an SSH Key
You have entered all cluster creation information. Click Next below
After reviewing the previously entered values, click Create Cluster.
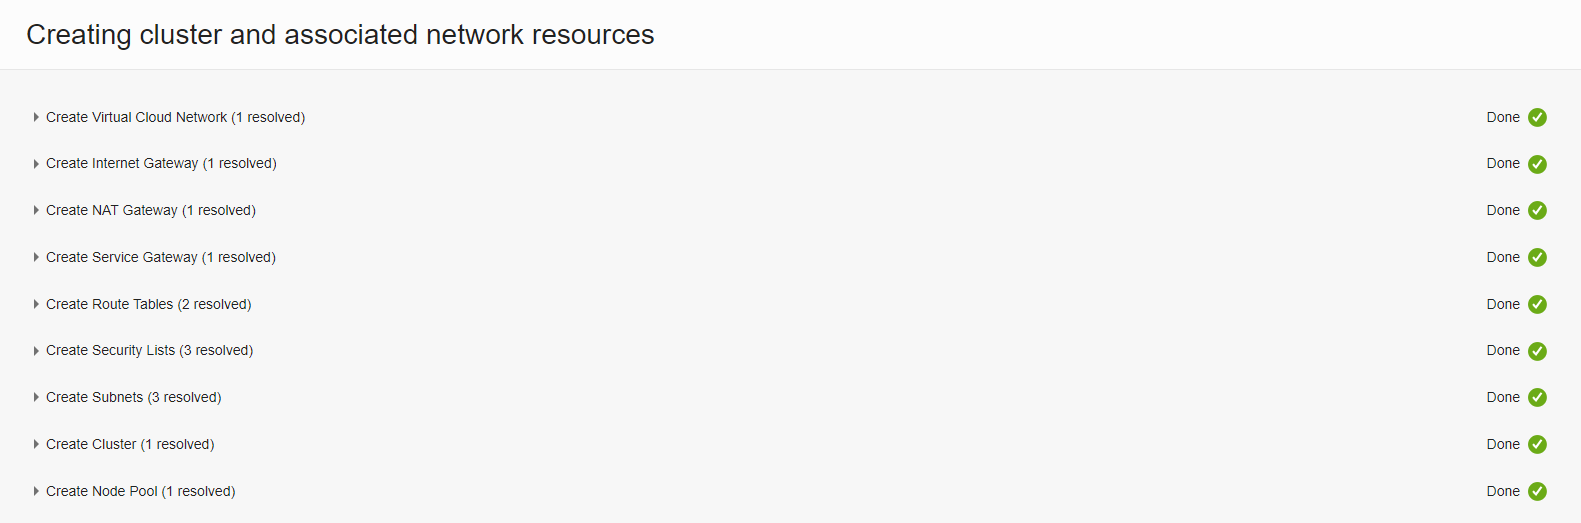
Cluster Creation and Related Network Resources
As shown in the figure below, when creating a cluster with Quick Create, you can see that basic network resources are created together.
Confirm cluster creation
When creation is requested, cluster creation, node pool creation, and worker node creation and configuration are performed in the following order.
You can see the created pool by going to Resources > Node Pools in the cluster details.
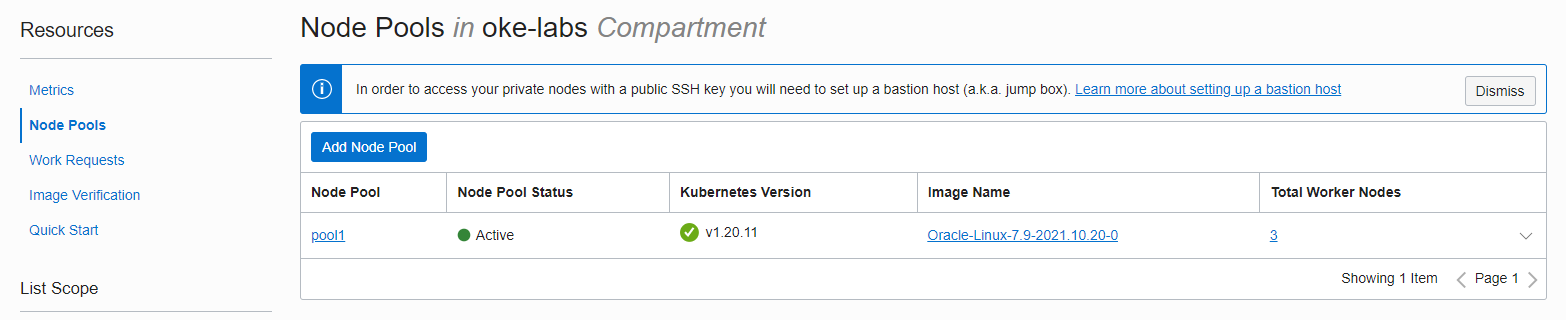
Click pool1, which is the created Node Pool, to go to Node Pool details.
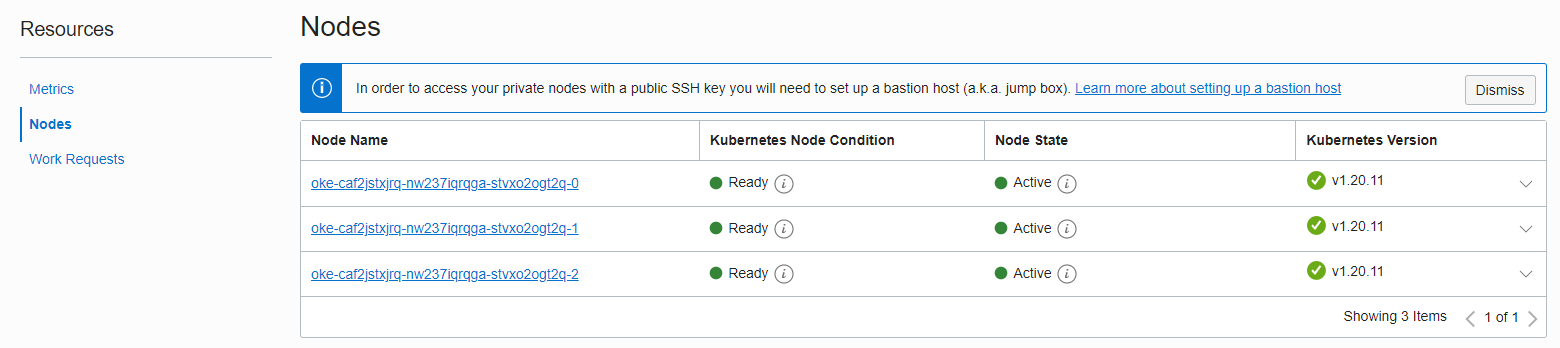
You can check the created Worker Nodes by looking at Resources > Nodes information in Node Pool details. After the VM is created, there is some time to configure Kubernetes, so it will take some time to get ready. In the test environment, it took about 5-6 minutes until all the nodes were ready.
Verify cluster and network configuration
Quick Create & Public Endpoint & Private Workers
For Kubernetes API Endpoint, Worker Nodes, and Service Load Balancer, as in the example described in [Example Network Resource Configurations] (https://docs.oracle.com/en-us/iaas/Content/ContEng/Concepts/contengnetworkconfigexample.htm) Several configurations are possible, combining private or public subnets. Here, as before, Public Endpoint and Private Workers are selected in Quick Create mode. The default service load balancer is Public, and can be selected when creating a load balancer in Kubernetes.
As an individual, this article was written with my personal time. There may be errors in the content of the article, and the opinions in the article are personal opinions.