Warning
This content has been generated by machine translation. The translations are automated and have not undergone human review or validation.
7.2.1 Creating a GraalVM-based container image
In this article, we will look at how to improve the performance of Java applications without code changes in the simplest way through an improved just-in-time (JIT) compiler.
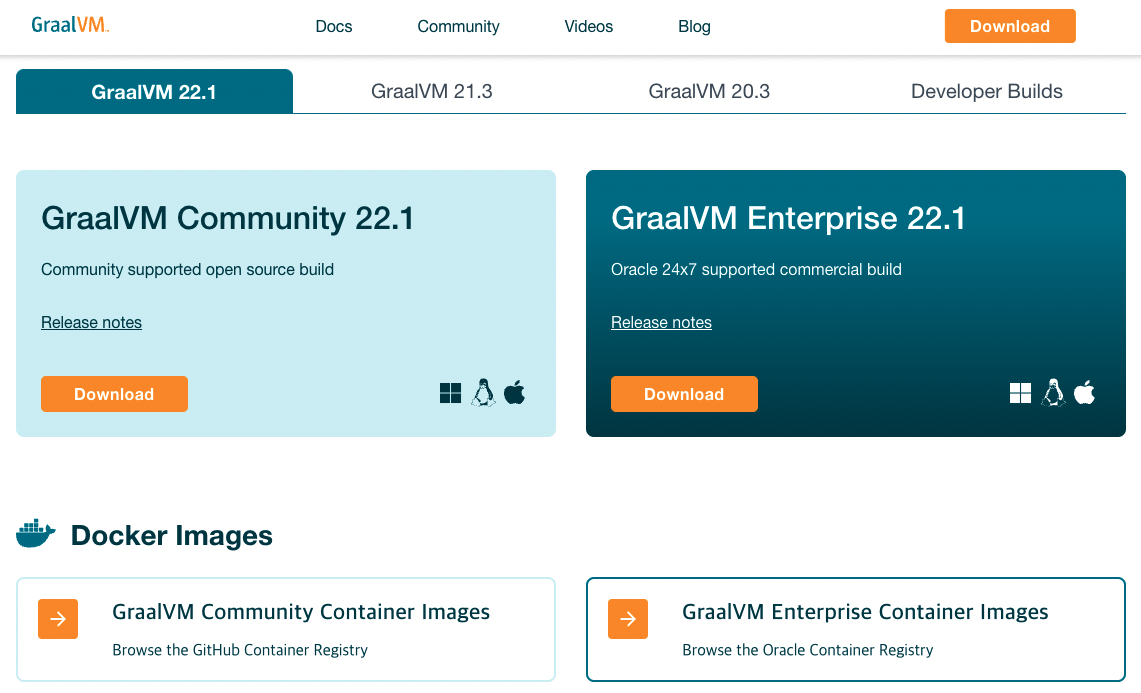
Container image provided by GraalVM
GraalVM provides an open source community version and a commercial enterprise version. The Enterprise version offers higher optimization capabilities. GraalVM is included in the Oracle Java SE subscription model and is available at no cost to resources within Oracle Cloud Infrastructure.
- GraalVM community container image: It is registered in the GitHub container registry, so you can take it and use it without separate authentication.
- GraaVM Enterprise Container Image: This commercial version is registered in the Oracle Container Registry and requires authentication with an OTN account.
Using GraalVM-CE based Container Image
Navigate to the code of the Spring Boot app you created earlier.
To run in GraalVM-CE, create a Dockerfile as follows. Change from the existing openjdk:8-jdk-alpine base image to the GraalVM-CE version.
- It is built based on JDK 8, which is currently installed in Cloud Shell, and uses GraalVM-CE 21 version.
- The GraalVM CE container image is registered on GitHub Registry and is open to the public, so you can import and use it right away. Choose from available JDK container images.
# Dockerfile.graalvm-ce
FROM ghcr.io/graalvm/jdk:ol7-java8-21.2
ARG JAR_FILE=target/*.jar
COPY ${JAR_FILE} app.jar
ENTRYPOINT ["java","-jar","app.jar"]
Build the image.
docker build -t spring-boot-greeting:graalvm-ce-1.0 -f Dockerfile.graalvm-ce .Push the built image with OCIR.
docker tag spring-boot-greeting:graalvm-ce-1.0 ap-chuncheon-1.ocir.io/${tenancy_namespace}/spring-boot-greeting:graalvm-ce-1.0
docker push ap-chuncheon-1.ocir.io/${tenancy_namespace}/spring-boot-greeting:graalvm-ce-1.0
Modify and reflect the default deployed Kubernetes Deployment to the changed image. Modify the image directly or use the kubectl set command to change the image.
kubectl edit deployment spring-boot-greeting-deployment
or
kubectl set image deployment spring-boot-greeting-deployment spring-boot-greeting=ap-chuncheon-1.ocir.io/${tenancy_namespace}/spring-boot-greeting:graalvm-ce
Connect to the running container and check the Java version.
winter@cloudshell:rest-service (ap-chuncheon-1)$ kubectl get pod
NAME                                               READY   STATUS    RESTARTS   AGE
spring-boot-greeting-deployment-7d7d7b5cf7-frtdg   1/1     Running   0          114s
winter@cloudshell:rest-service (ap-chuncheon-1)$ kubectl exec -it spring-boot-greeting-deployment-7d7d7b5cf7-frtdg -- java -version
openjdk version "1.8.0_302"
OpenJDK Runtime Environment (build 1.8.0_302-b07)
OpenJDK 64-Bit Server VM GraalVM CE 21.2.0 (build 25.302-b07-jvmci-21.2-b08, mixed mode
Using GraalVM-EE based Container Image
GraalVM Enterprise image import
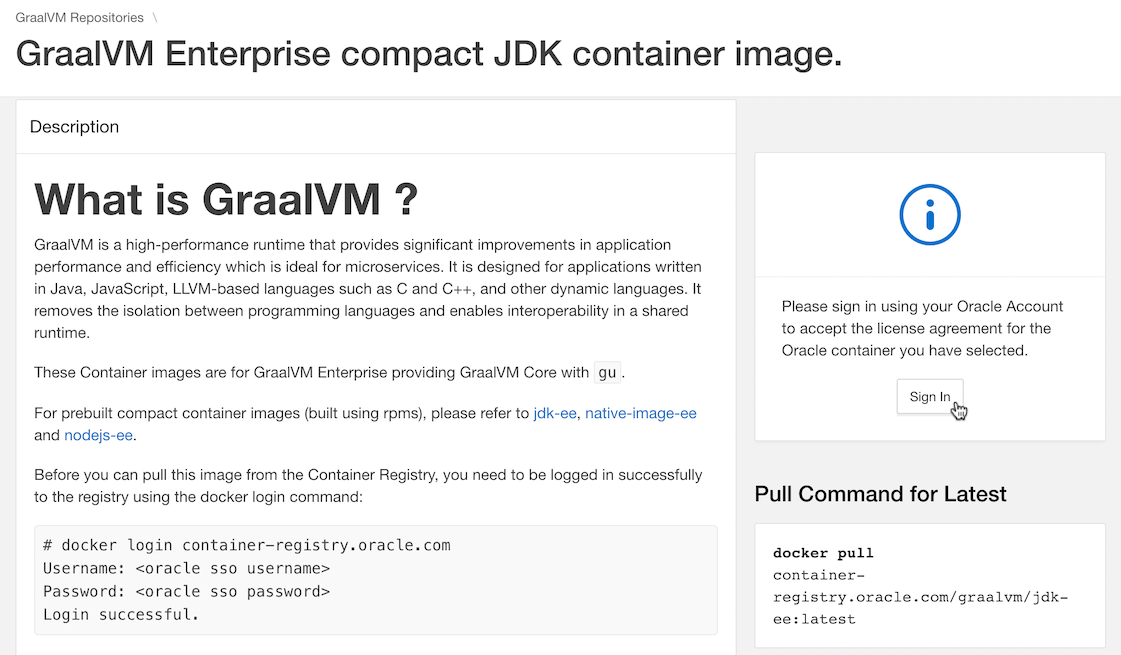
To use the GraalVM Enterprise image, you can pull through Oracle Account authentication in Oracle Container Registry. Before use, you need to log in to your Oracle account for the first time and agree to the license.
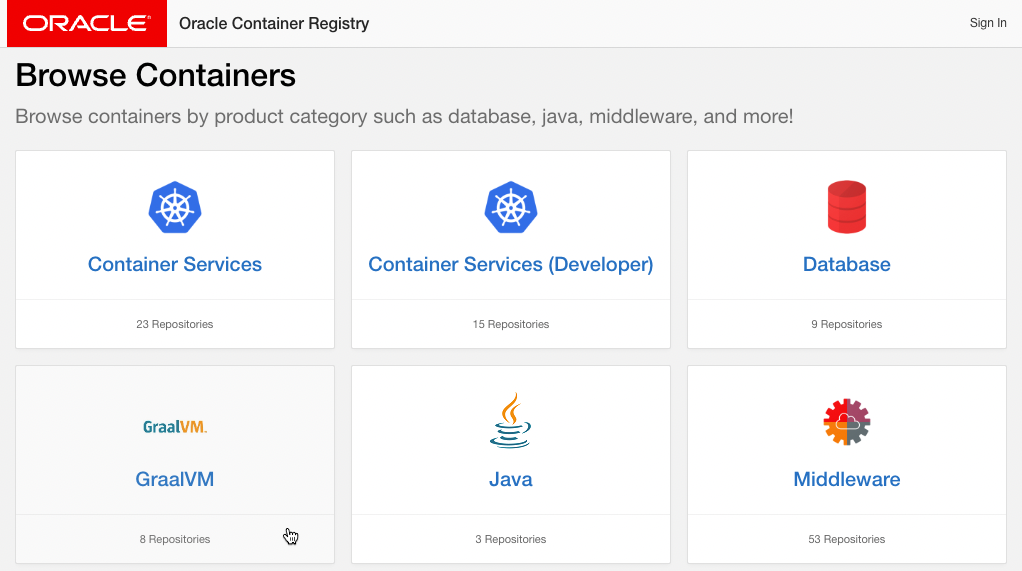
Connect to Oracle Container Registry and move to the GraalVM repository.
Select jdk-ee from the repositories.

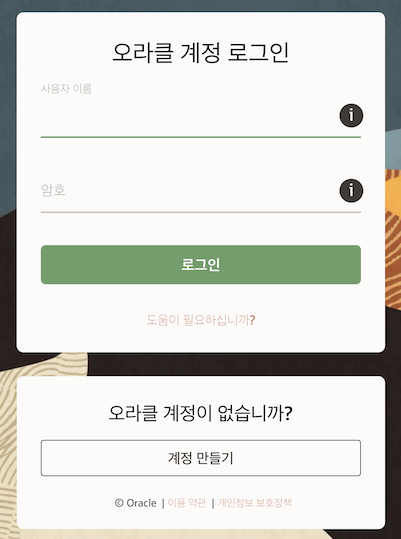
Log in to accept the license.
Log in with your Oracle Account. If you do not have an account, create one.
Click Continue.
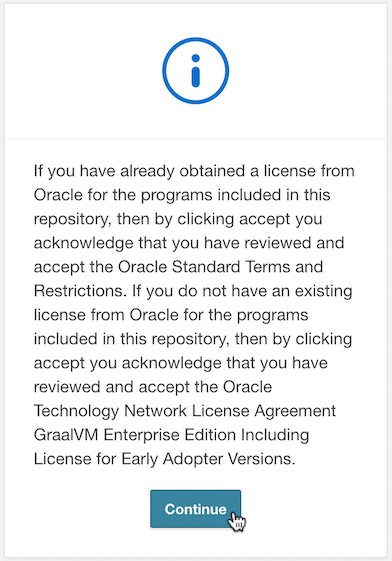
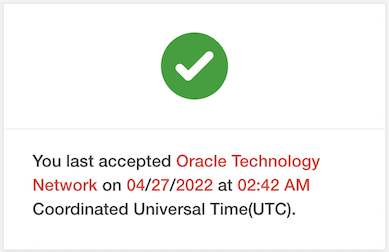
After checking the contents of the license, accept it. Then you will see something like this:
Log in to Oracle Container Registry with the docker login command. Log in with the Oracle Account you used earlier.
$ docker login container-registry.oracle.com
Username: <oracle sso username>
Password: <oracle sso password>
...
Login Succeeded
Check if the image is pulled well through docker pull.
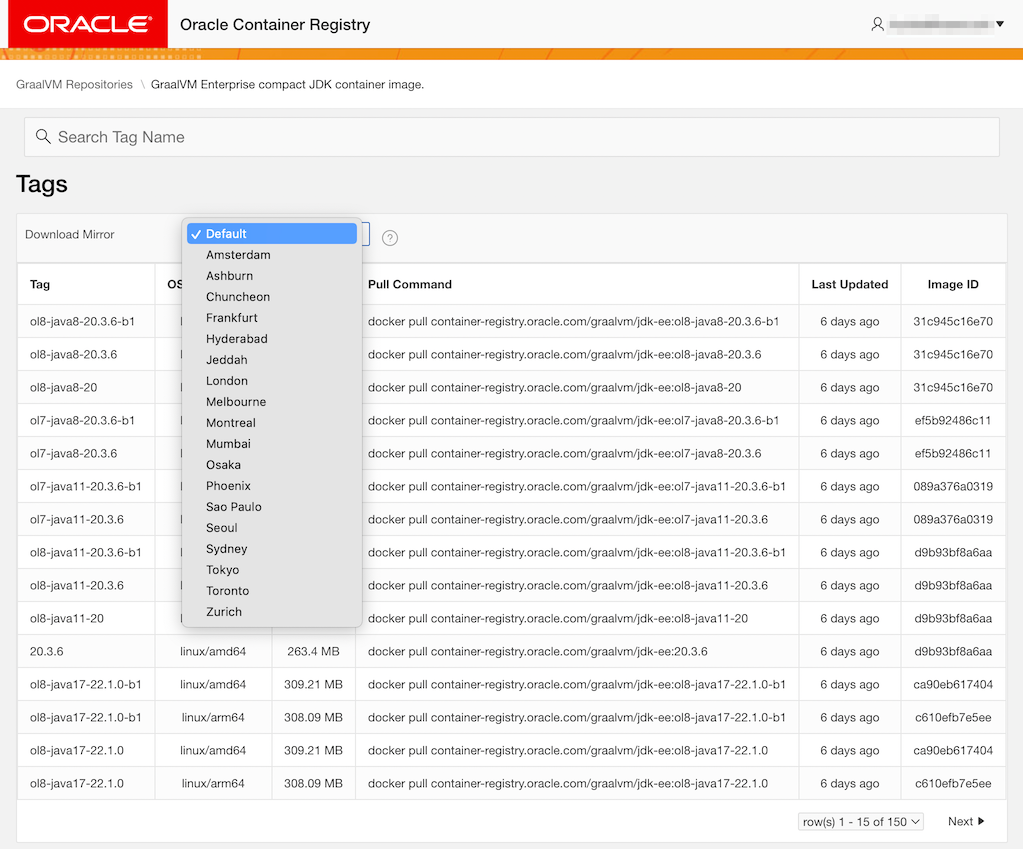
$ docker pull container-registry.oracle.com/graalvm/jdk-ee:ol8-java8-21.3.2
Trying to pull repository container-registry.oracle.com/graalvm/jdk-ee ...
ol8-java8-21.3.2: Pulling from container-registry.oracle.com/graalvm/jdk-ee
e4430e06691f: Pull complete
998ed91b929f: Pull complete
652cb5fdd8a8: Pull complete
Digest: sha256:dbfd2607dd1192c97304a68743eeb91342f9d64634f18f908d719e0bc60aac13
Status: Downloaded newer image for container-registry.oracle.com/graalvm/jdk-ee:ol8-java8-21.3.2
container-registry.oracle.com/graalvm/jdk-ee:ol8-java8-21.3.2
A list of available images can be checked at the bottom of the Oracle Container Registry web page. Seoul and Chuncheon mirror sites are also provided.
Using GraalVM Enterprise images
Navigate to the code of the Spring Boot app you created earlier
To run in GraalVM-EE, create Dockerfile as below.
The default home directory for the jdk-ee:ol8-java8-21.3.2 image is /app. When running in ENTRYPOINT, if you say /app.jar, an error occurs because there is no app.jar file in that location.
# Dockerfile.graalvm-ee
FROM container-registry.oracle.com/graalvm/jdk-ee:ol8-java8-21.3.2
ARG JAR_FILE=target/*.jar
COPY ${JAR_FILE} app.jar
ENTRYPOINT ["java","-jar","app.jar"]
Build the image.
docker build -t spring-boot-greeting:graalvm-ee-1.0 -f Dockerfile.graalvm-ee .Push the built image with OCIR.
docker tag spring-boot-greeting:graalvm-ee-1.0 ap-chuncheon-1.ocir.io/${tenancy_namespace}/spring-boot-greeting:graalvm-ee-1.0
docker push ap-chuncheon-1.ocir.io/${tenancy_namespace}/spring-boot-greeting:graalvm-ee-1.0
Modify and reflect the default deployed Kubernetes Deployment to the changed image. Modify the image directly or use the kubectl set command to change the image.
kubectl edit deployment spring-boot-greeting-deployment
or
kubectl set image deployment spring-boot-greeting-deployment spring-boot-greeting=ap-chuncheon-1.ocir.io/${tenancy_namespace}/spring-boot-greeting:graalvm-ee-1.0
Connect to the running container and check the Java version.
winter@cloudshell:rest-service (ap-chuncheon-1)$ kubectl get pod
NAME                                               READY   STATUS    RESTARTS   AGE
spring-boot-greeting-deployment-656c49d9b6-mqjmb   1/1     Running   0          14s
winter@cloudshell:rest-service (ap-chuncheon-1)$ kubectl exec -it spring-boot-greeting-deployment-656c49d9b6-mqjmb -- java -version
java version "1.8.0_331"
Java(TM) SE Runtime Environment (build 1.8.0_331-09)
Java HotSpot(TM) 64-Bit Server VM GraalVM EE 21.3.2 (build 25.331-b09-jvmci-21.3-b11, mixed mode)
As an individual, this article was written with my personal time. There may be errors in the content of the article, and the opinions in the article are personal opinions.